
Git Installation, Configuration
Windows Installation
- Download and install Git from the official Git website.
- During installation, the default options are generally suitable.
- Open Git Bash after installation.
- Verify the installation:

Configure Git Username and Email
- Set the name that will appear on your Git commits:
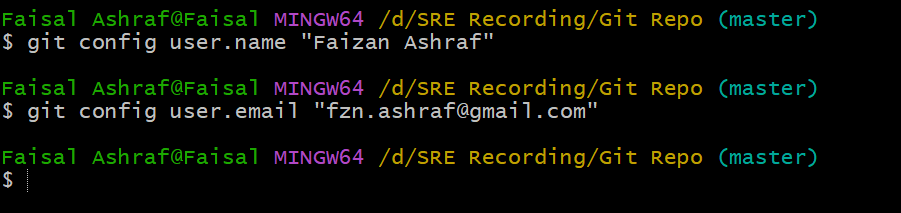
- Verify the configuration with:
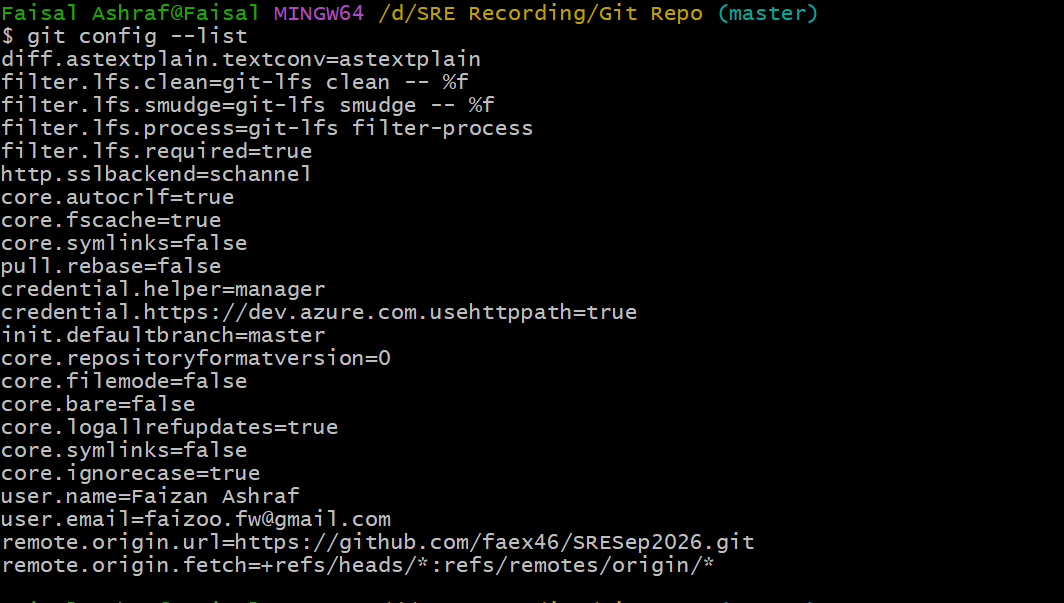
Generate an SSH Key
To authenticate with a remote repository without repeatedly entering a password, we do as follows:
- Use ssh-keygen command in Git Bash terminal

- Go to the location
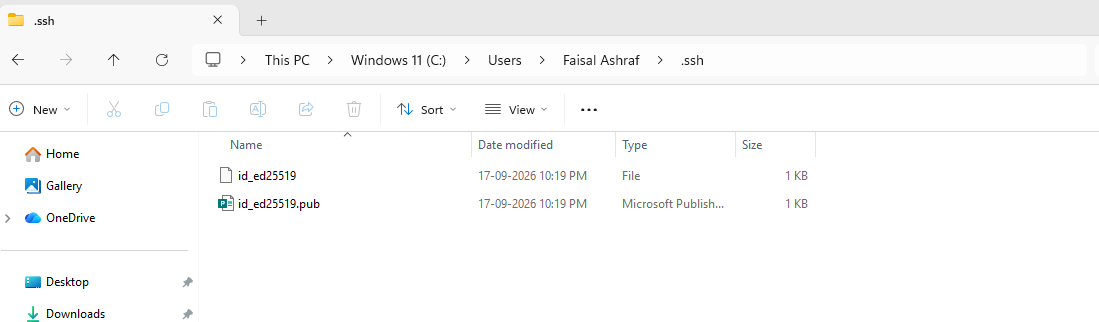
- Open the .pub file with Notepad and copy all the content and copy the key in Github settings under SSH and GPG Keys option
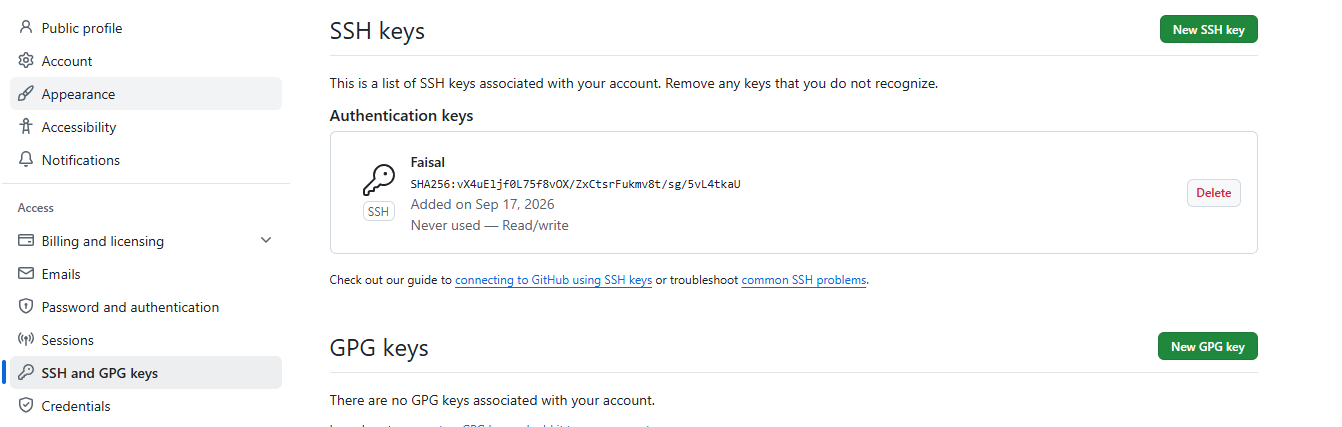
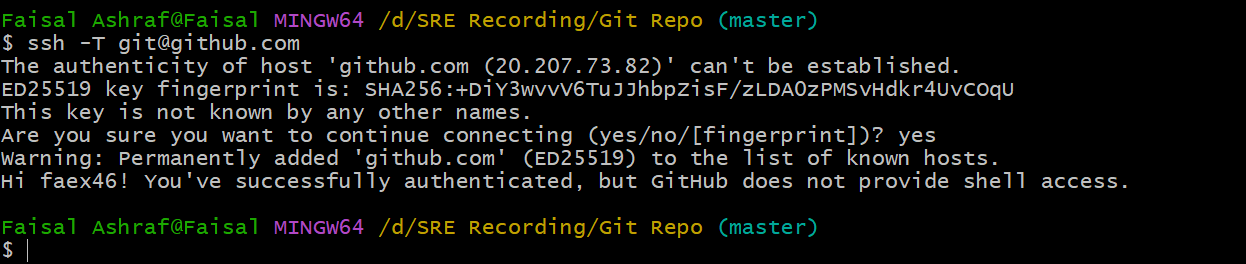
- Test and authorize the connection
Summary
Git was installed on the computer and its installation was verified using the git --version command. After installation, Git was configured with a username and email address using the `git config commands. These settings identify the author of commits made on the system.
An id_ed25519 SSH key pair was then generated using ssh-keygen. The public key was added to the Git hosting account, while the private key was kept securely on the computer. The SSH agent was configured to use the private key, and the connection to the Git hosting service was tested using the SSH test command.
This setup allows Git to communicate securely with remote repositories using SSH authentication. It also ensures that commits contain the correct user identity.



Top comments (0)