Reference1
Reference2
Reference3
Reference4
Reference5
Reference6
Angular Router is a powerful JavaScript router built and maintained by the Angular core team that can be installed from the @angular/router package. It provides a complete routing library with the possibility to have multiple router outlets, different path matching strategies, easy access to route parameters and route guards to protect components from unauthorized access.
The Angular router is a core part of the Angular platform. It enables developers to build Single Page Applications with multiple views and allow navigation between these views.
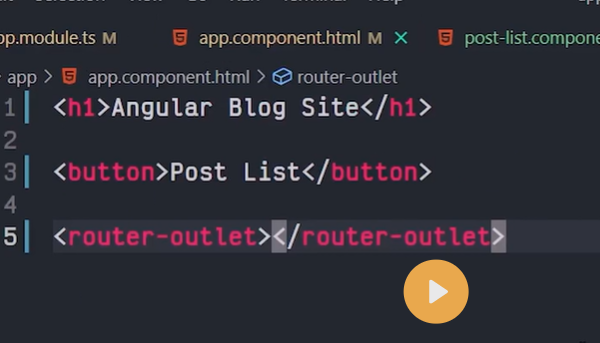
THE ROUTER-OUTLET
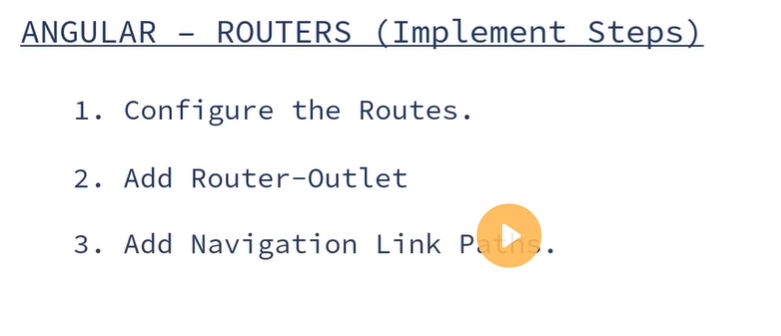
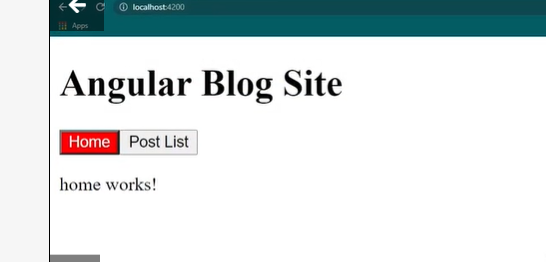
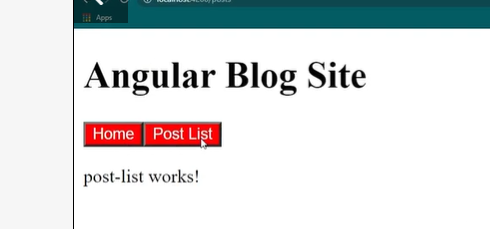
The Router-Outlet is a directive that’s available from the router library where the Router inserts the component that gets matched based on the current browser’s URL. You can add multiple outlets in your Angular application which enables you to implement advanced routing scenarios.
<router-outlet></router-outlet>
ROUTES AND PATHS
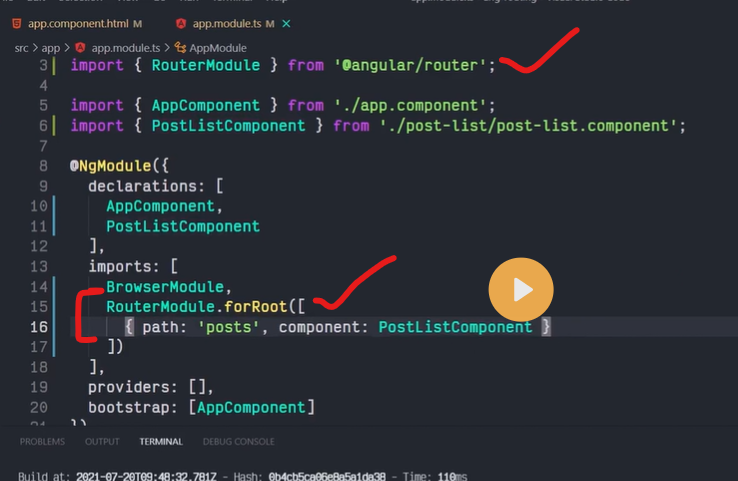
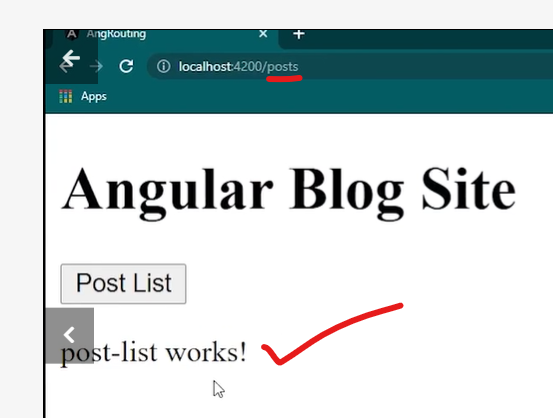
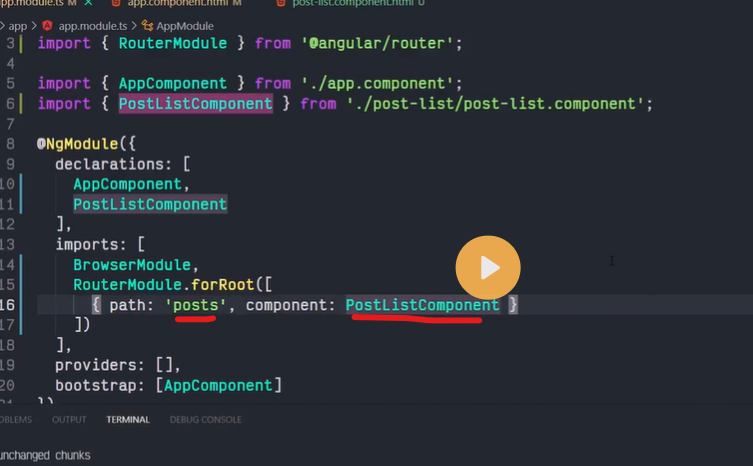
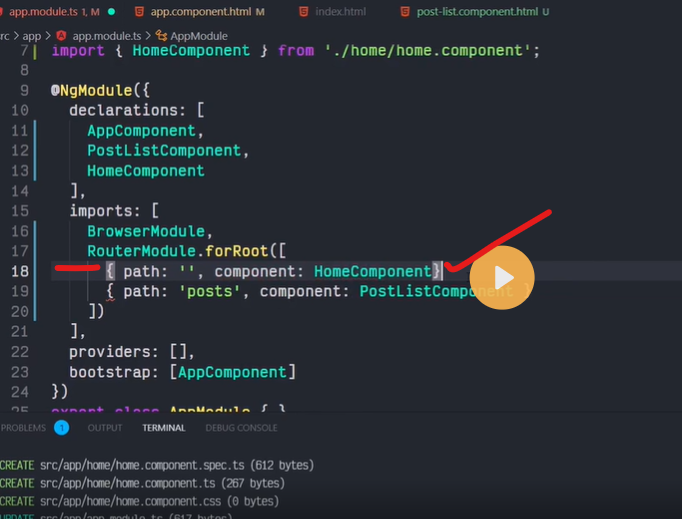
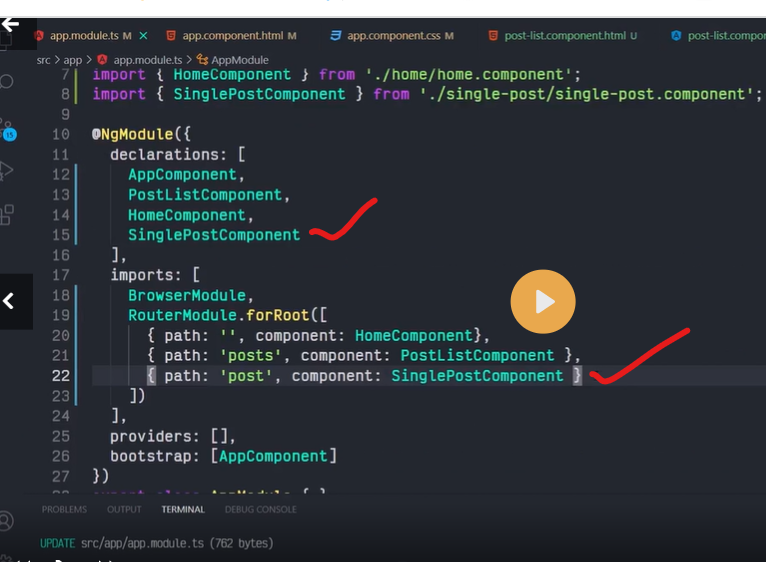
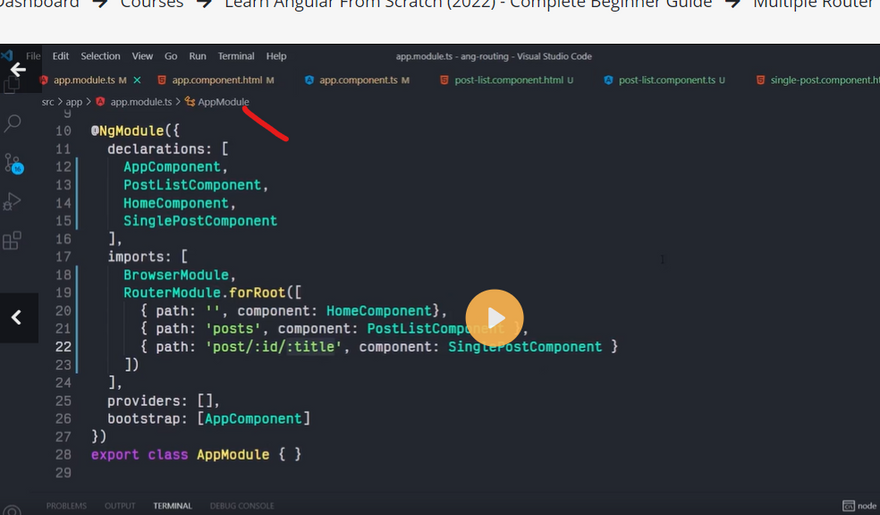
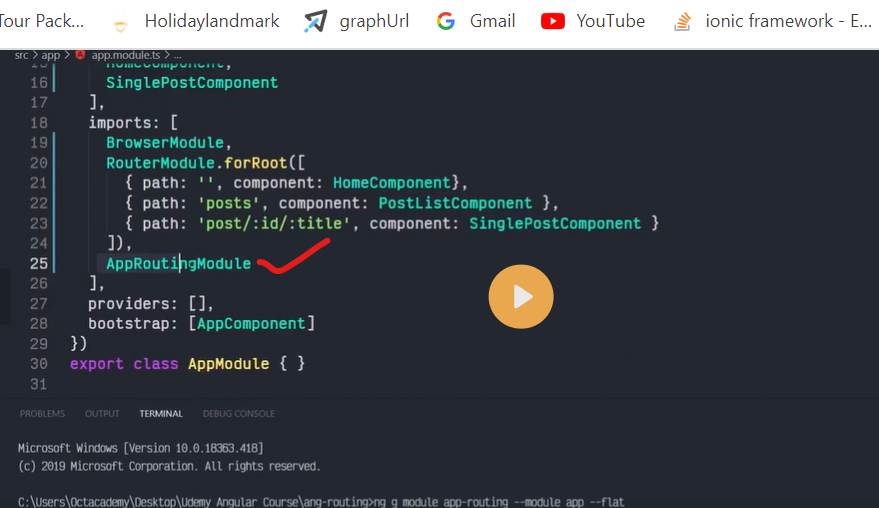
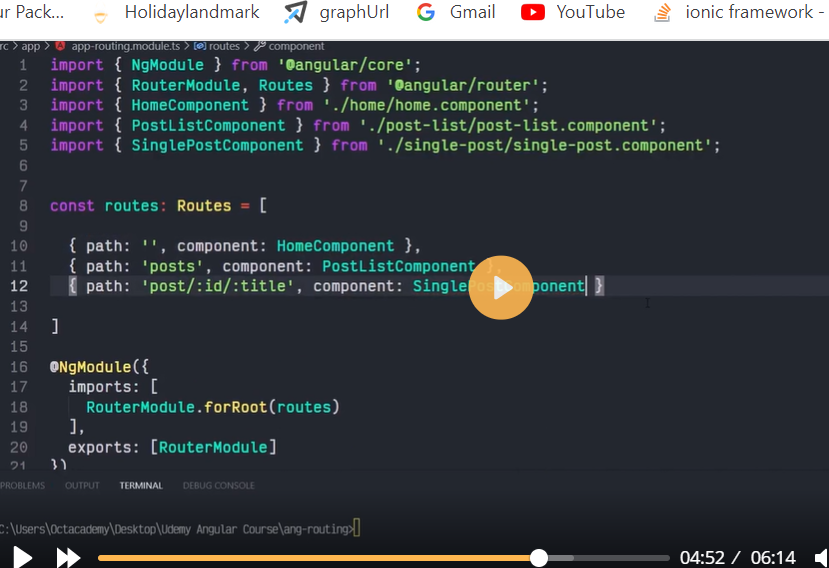
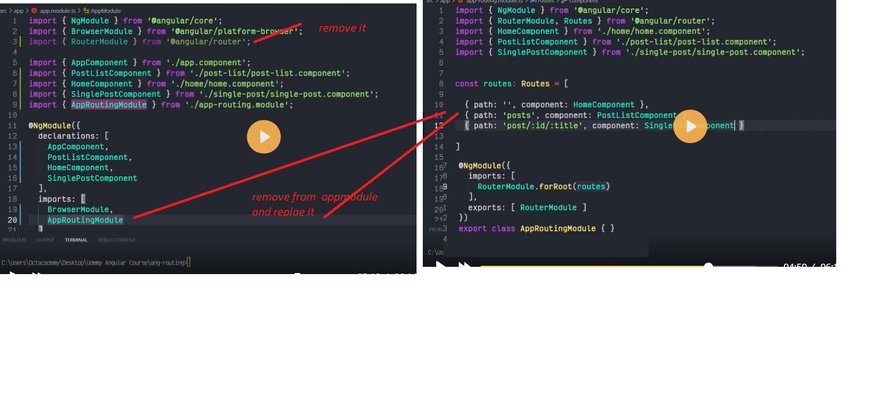
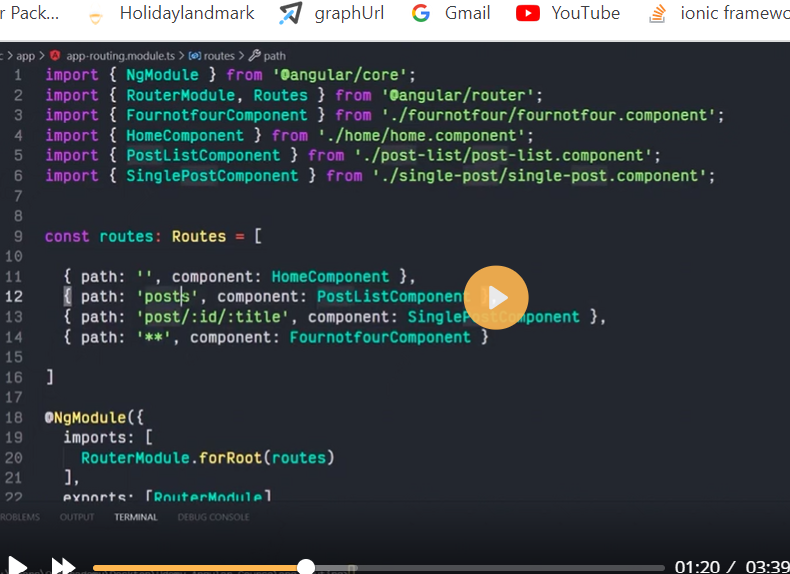
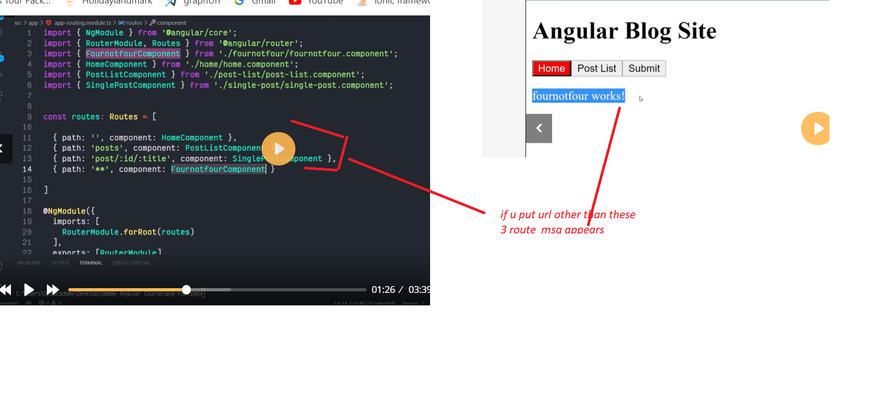
Routes are definitions (objects) comprised from at least a path and a component (or a redirectTo path) attributes. The path refers to the part of the URL that determines a unique view that should be displayed, and component refers to the Angular component that needs to be associated with a path. Based on a route definition that we provide (via a static RouterModule.forRoot(routes) method), the Router is able to navigate the user to a specific view.
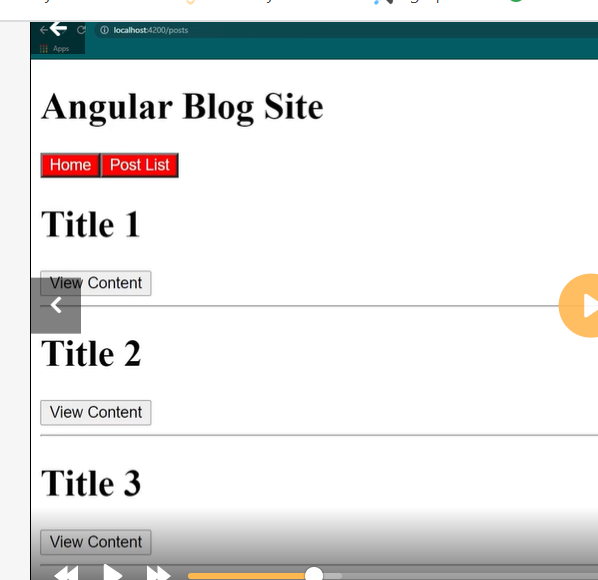
Each Route maps a URL path to a component.
The path can be empty which denotes the default path of an application and it’s usually the start of the application.
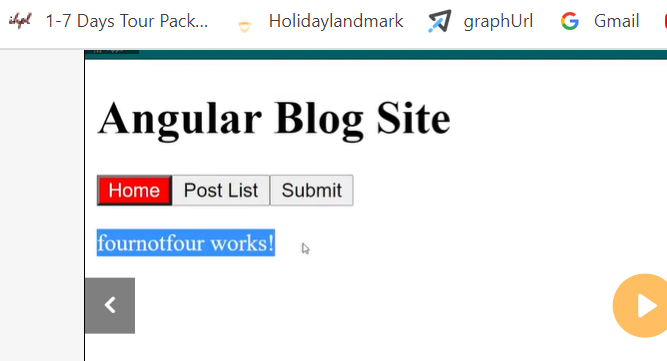
The path can take a wildcard string (**). The router will select this route if the requested URL doesn’t match any paths for the defined routes. This can be used for displaying a “Not Found” view or redirecting to a specific view if no match is found.
This is an example of a route:
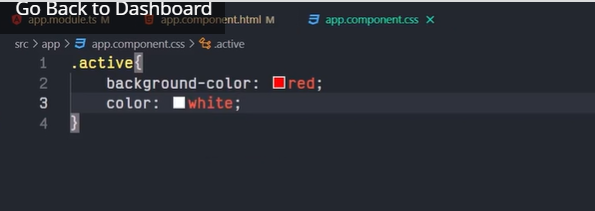
{ path: 'contacts', component: ContactListComponent}
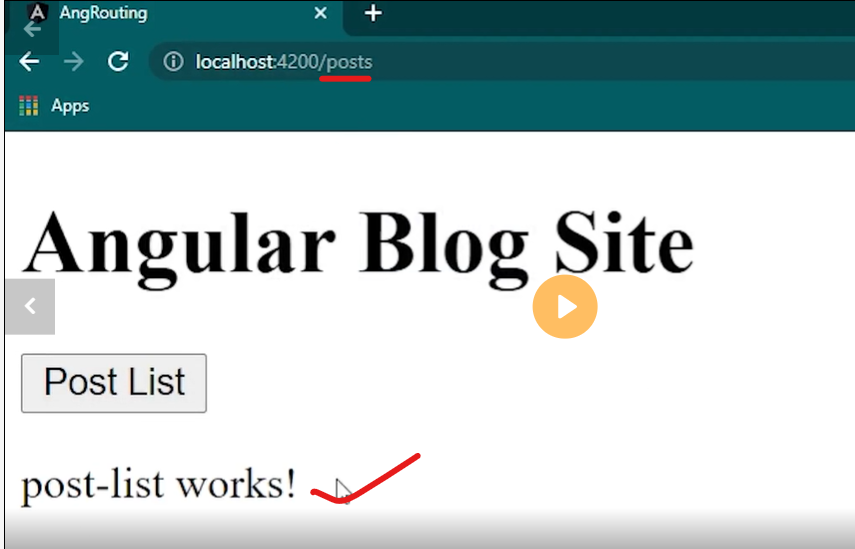
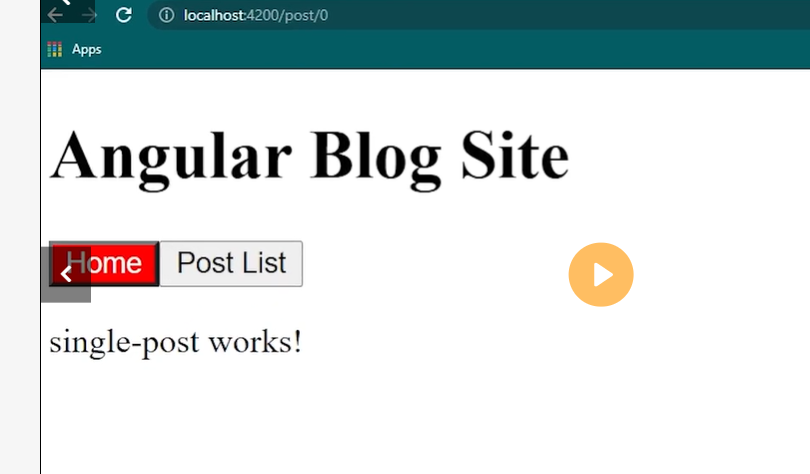
If this route definition is provided to the Router configuration, the router will render ContactListComponent when the browser URL for the web application becomes /contacts.
*ROUTE MATCHING STRATEGIES *
The Angular Router provides different route matching strategies. The default strategy is simply checking if the current browser’s URL is prefixed with the path.
For example our previous route:
{ path: 'contacts', component: ContactListComponent}
Could be also written as:
{ path: 'contacts',pathMatch: 'prefix', component: ContactListComponent}
The patchMath attribute specifies the matching strategy. In this case, it’s prefix which is the default.
The second matching strategy is full. When it’s specified for a route, the router will check if the the path is exactly equal to the path of the current browser’s URL:
{ path: 'contacts',pathMatch: 'full', component: ContactListComponent}
ROUTE PARAMS
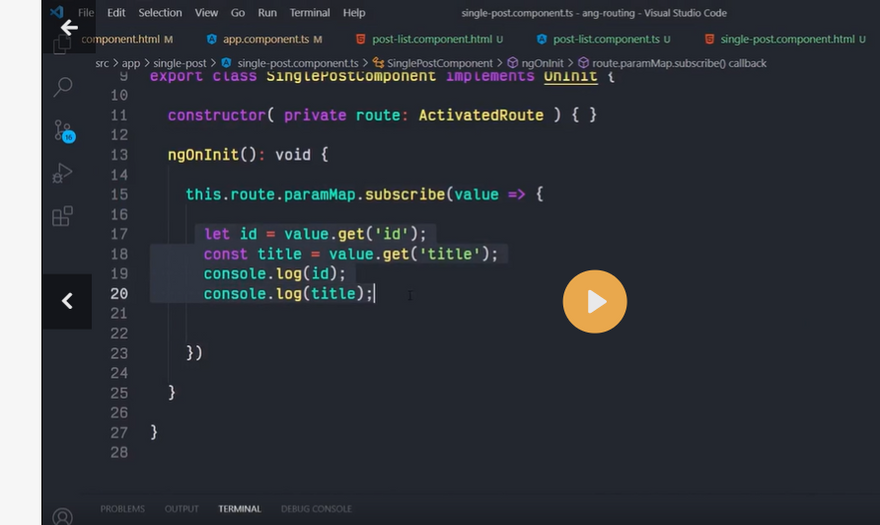
Creating routes with parameters is a common feature in web apps. Angular Router allows you to access parameters in different ways:
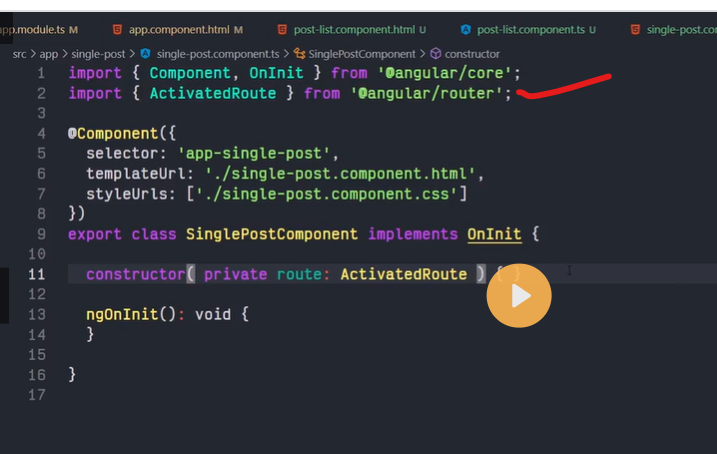
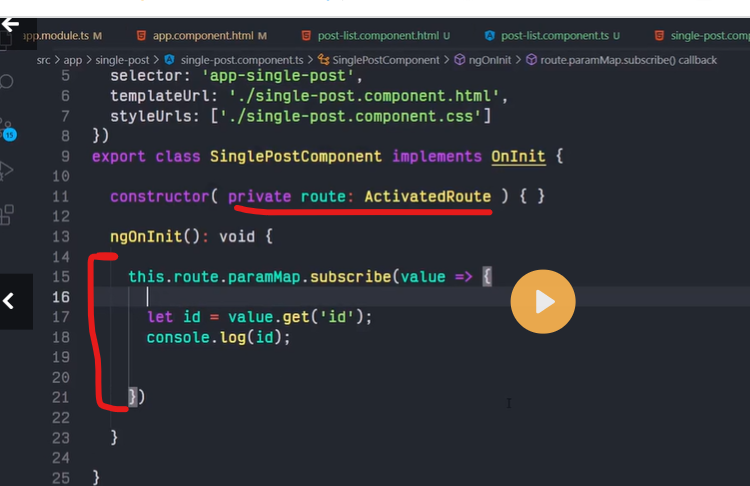
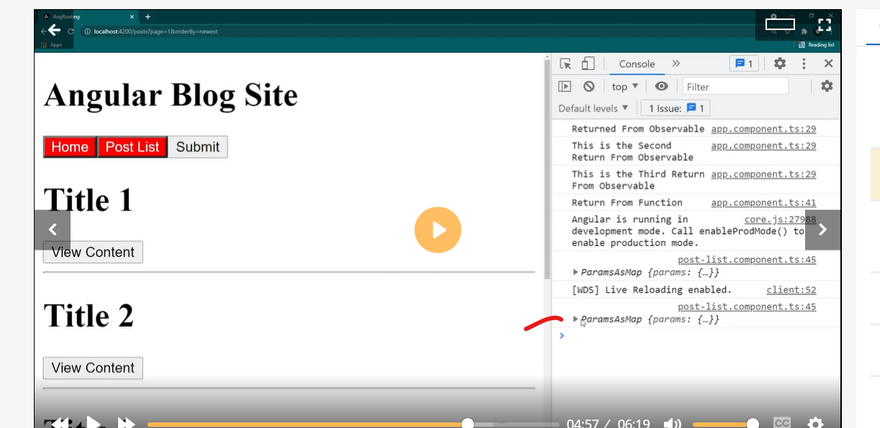
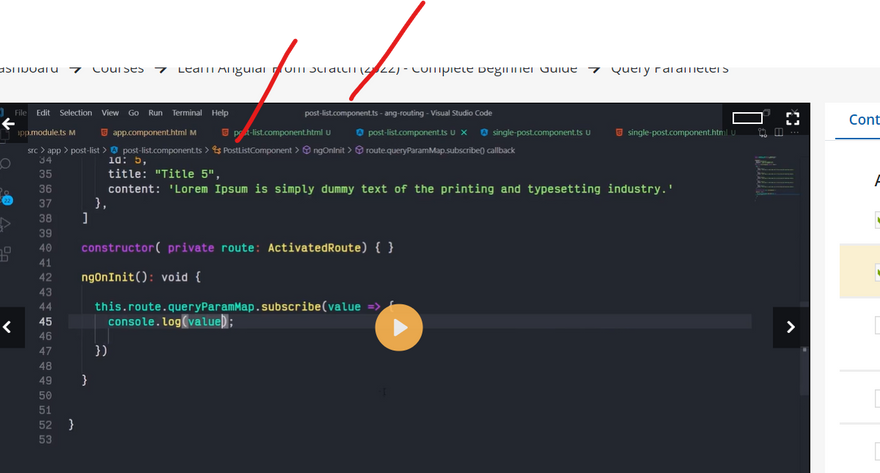
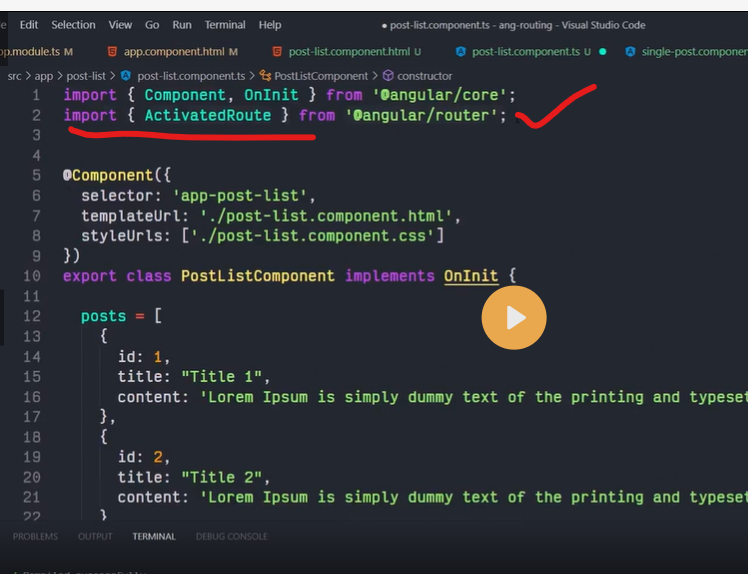
Using the ActivatedRoute service,
Using the ParamMap observable available starting with v4.
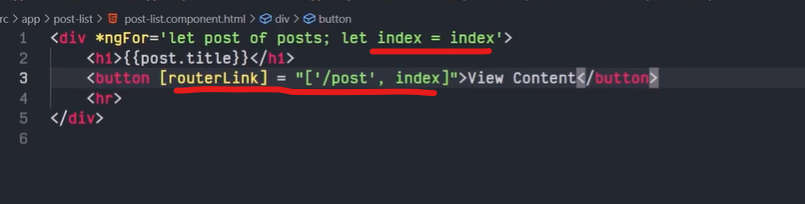
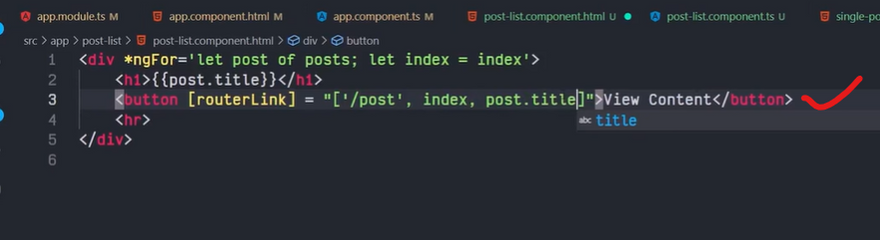
You can create a route parameter using the colon syntax. This is an example route with an id parameter:
{ path: 'contacts/:id', component: ContactDetailComponent}
ROUTE GUARDS
A route guard is a feature of the Angular Router that allows developers to run some logic when a route is requested, and based on that logic, it allows or denies the user access to the route. It’s commonly used to check if a user is logged in and has the authorization before he can access a page.
You can add a route guard by implementing the CanActivate interface available from the @angular/router package and extends the canActivate() method which holds the logic to allow or deny access to the route. For example, the following guard will always allow access to a route:
class MyGuard implements CanActivate {
  canActivate() {
    return true;
  }
}
You can then protect a route with the guard using the canActivate attribute:
{ path: 'contacts/:id, canActivate:[MyGuard], component: ContactDetailComponent}
NAVIGATION DIRECTIVE
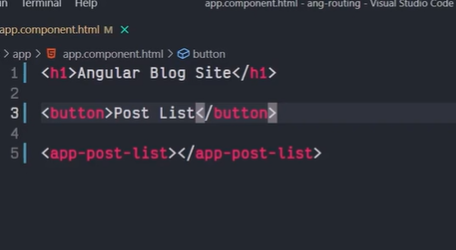
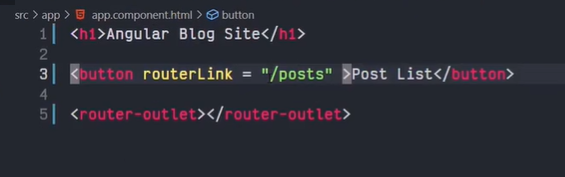
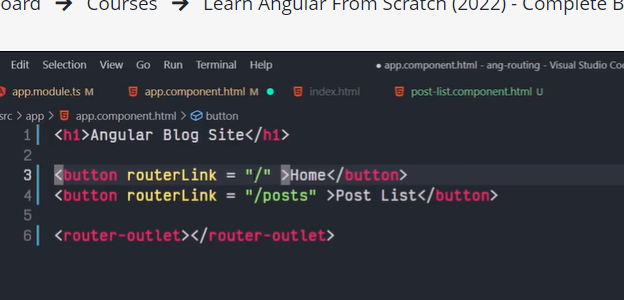
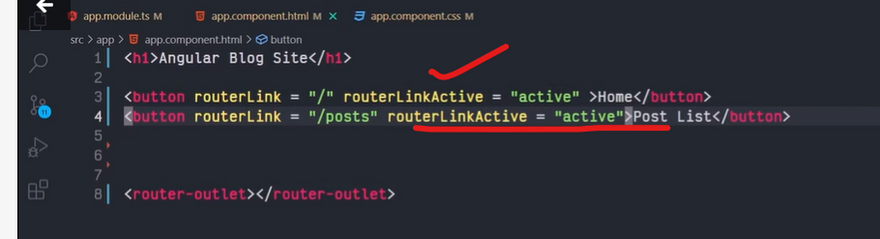
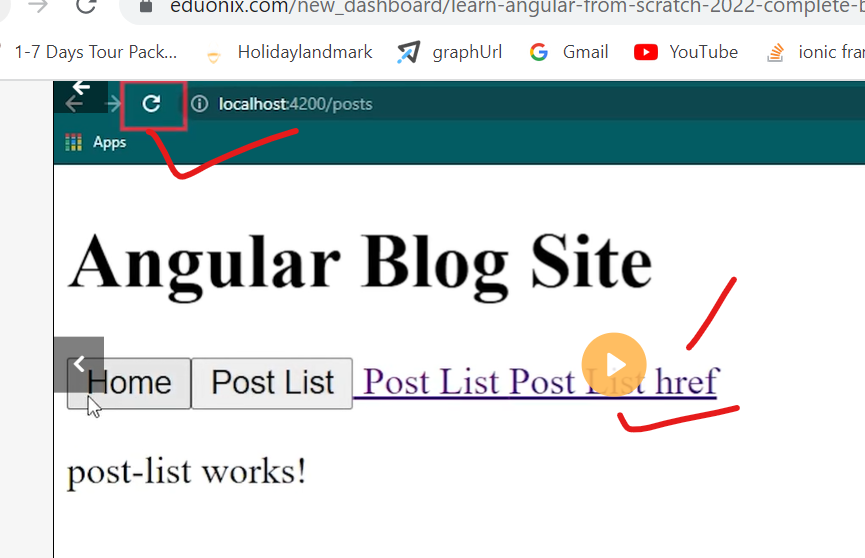
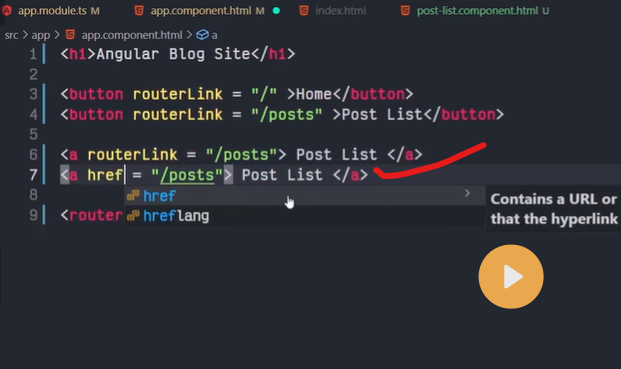
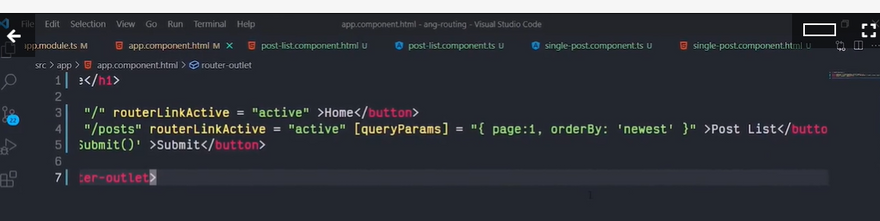
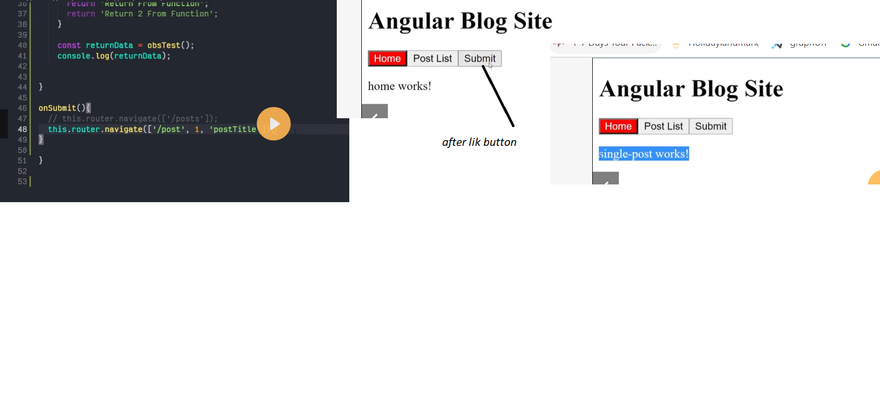
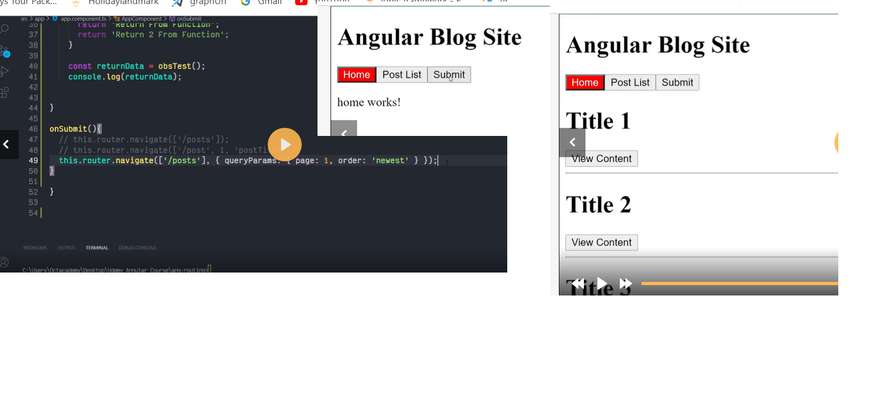
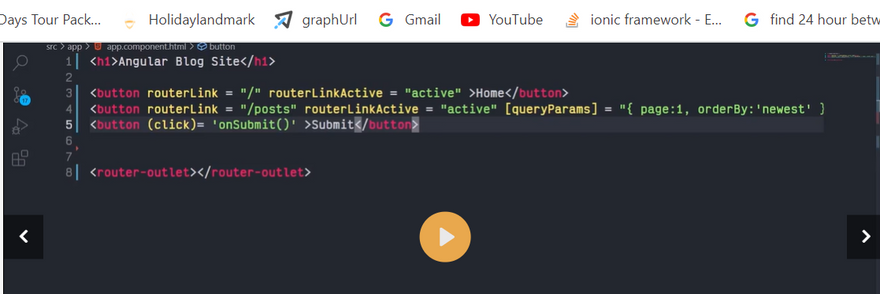
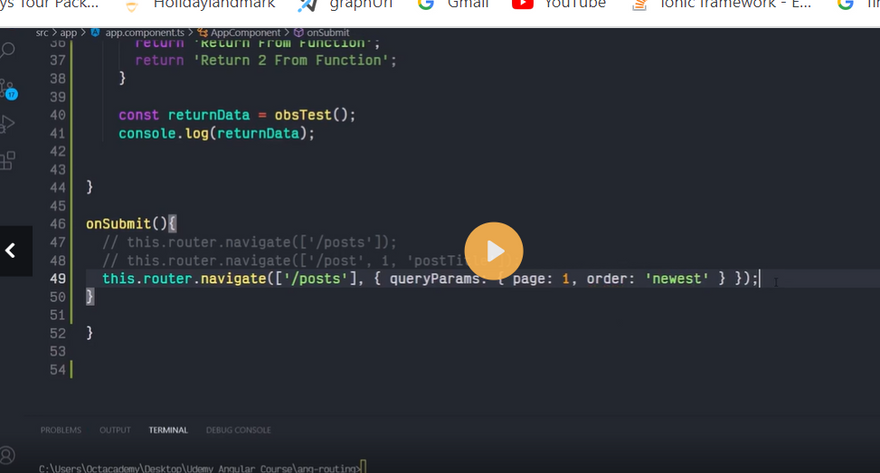
The Angular Router provides the routerLink directive to create navigation links. This directive takes the path associated with the component to navigate to. For example:
<a [routerLink]="'/contacts'">Contacts</a>
MULTIPLE OUTLETS AND AUXILIARY ROUTES
Angular Router supports multiple outlets in the same application.
A component has one associated primary route and can have auxiliary routes. Auxiliary routes enable developers to navigate multiple routes at the same time.
To create an auxiliary route, you’ll need a named router outlet where the component associated with the auxiliary route will be displayed.
<router-outlet></router-outlet>
<router-outlet  name="outlet1"></router-outlet>
- The outlet with no name is the primary outlet.
- All outlets should have a name except for the primary outlet. You can then specify the outlet where you want to render your component using the outlet attribute:
{ path: "contacts", component: ContactListComponent, outlet: "outlet1" }
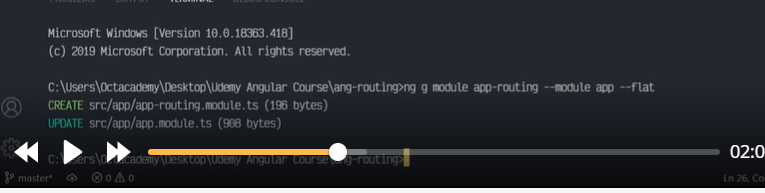
CREATING AN ANGULAR 7 PROJECT
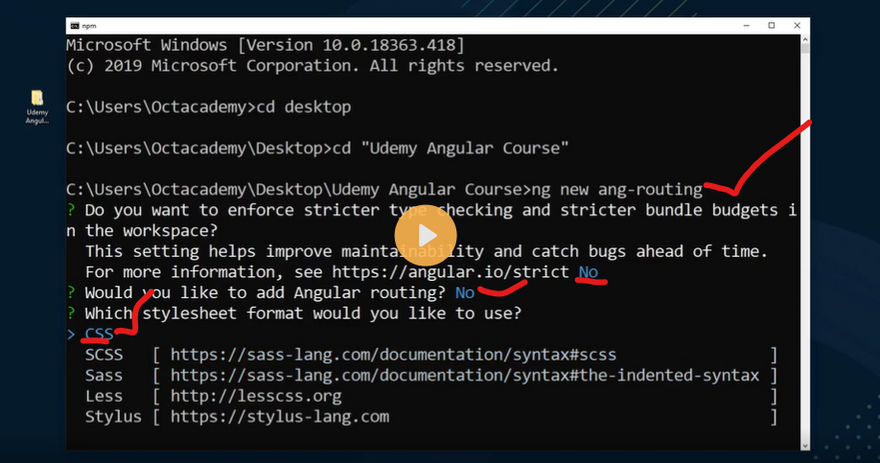
Creating a new project is one command away, you simply need to run the following command:
$ ng new angular7-router-demo
The CLI will ask you if you would like to add routing (type N for No because we’ll see how we can add routing manually) and which stylesheet format would you like to use, choose CSS, the first option then hit Enter. The CLI will create a folder structure with the necessary files and install the project’s required dependencies.
Creating A Fake Back-End Service
Since we don’t have a real back-end to interact with, we’ll create a fake back-end using the angular-in-memory-web-api library which is an in-memory web API for Angular demos and tests that emulates CRUD operations over a REST API.
It works by intercepting the HttpClient requests sent to the remote server and redirects them to a local in-memory data store that we need to create.
To create a fake back-end, we need to follow the next steps:
- First, we install the angular-in-memory-web-api module,
- Next, we create a service which returns fake data,
- Finally, configure the application to use the fake back-end. In your terminal run the following command to install the angular-in-memory-web-api module from npm:
$ npm install --save angular-in-memory-web-api
Next, generate a back-end service using:
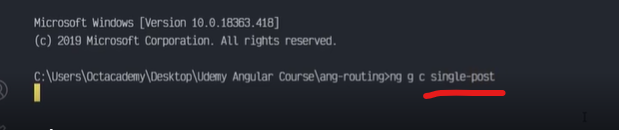
$ ng g s backend
Open the src/app/backend.service.ts file and import InMemoryDbService from the angular-in-memory-web-api module:
import {InMemoryDbService} from 'angular-in-memory-web-api'
The service class needs to implement InMemoryDbService and then override the createDb() method:
@Injectable({
  providedIn: 'root'
})
export class BackendService implements InMemoryDbService{

  constructor() { }
  createDb(){

   let  contacts =  [
     {  id:  1,  name:  'Contact 1', email: 'contact1@email.com' },
     {  id:  2,  name:  'Contact 2', email: 'contact2@email.com' },
     {  id:  3,  name:  'Contact 3', email: 'contact3@email.com' },
     {  id:  4,  name:  'Contact 4', email: 'contact4@email.com' }
   ];

   return {contacts};

  }
}
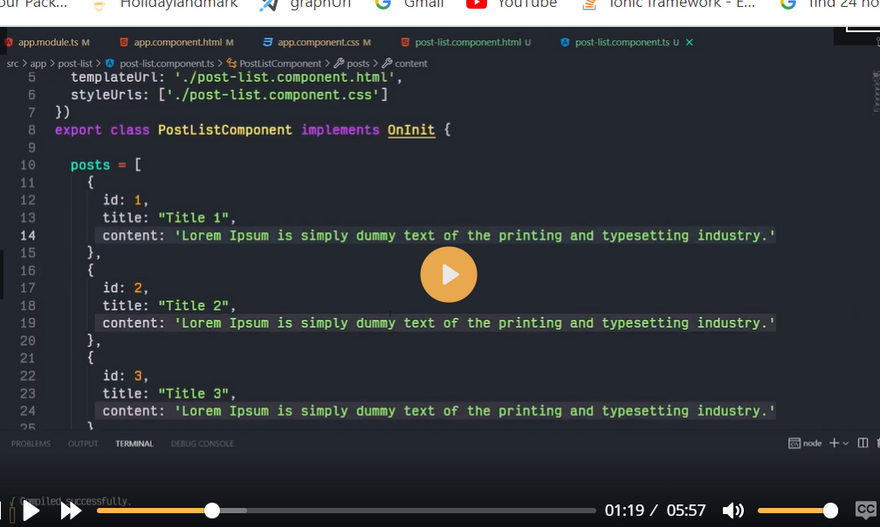
We simply create an array of contacts and return them. Each contact should have an id.
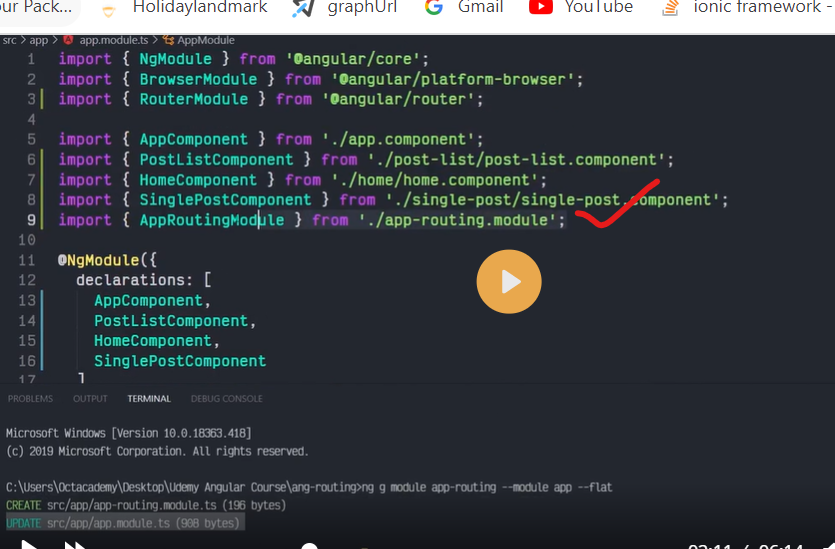
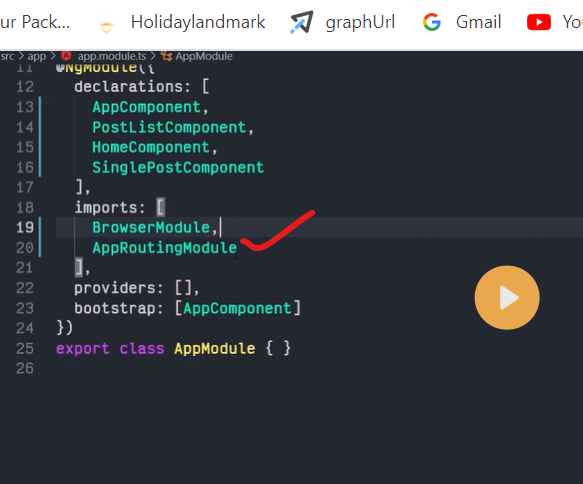
Finally, we simply need to import InMemoryWebApiModule into the app.module.ts file, and provide our fake back-end service.
import { InMemoryWebApiModule } from “angular-in-memory-web-api”;
import { BackendService } from “./backend.service”;
/* ... */

@NgModule({
  declarations: [
    /*...*/
  ],
  imports: [
    /*...*/
    InMemoryWebApiModule.forRoot(BackendService)
  ],
  providers: [],
  bootstrap: [AppComponent]
})
export class AppModule { }
Next create a ContactService which encapsulates the code for working with contacts:
$ ng g s contact
Open the src/app/contact.service.ts file and update it to look similar to the following code:
import { Injectable } from '@angular/core';
import { HttpClient } from “@angular/common/http”;

@Injectable({
  providedIn: 'root'
})
export class ContactService {

  API_URL: string = "/api/";
  constructor(private http: HttpClient) { }
  getContacts(){
   return this.http.get(this.API_URL + 'contacts')
  }
  getContact(contactId){
   return this.http.get(`${this.API_URL + 'contacts'}/${contactId}`)
  }
}
We added two methods:
getContacts()
For getting all contacts.
getContact()
For getting a contact by id.
You can set the API_URL to whatever URL since we are not going to use a real back-end. All requests will be intercepted and sent to the in-memory back-end.
Implement angular routing
create new angular app

configure angular router

Angular router outlet

Angular router link


Angular router link active
Angular base router
router vs href
Router parameter variable

Get router parameter
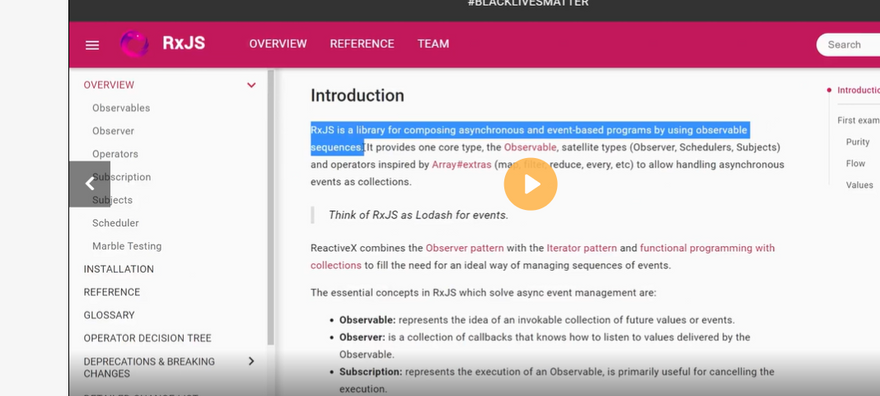
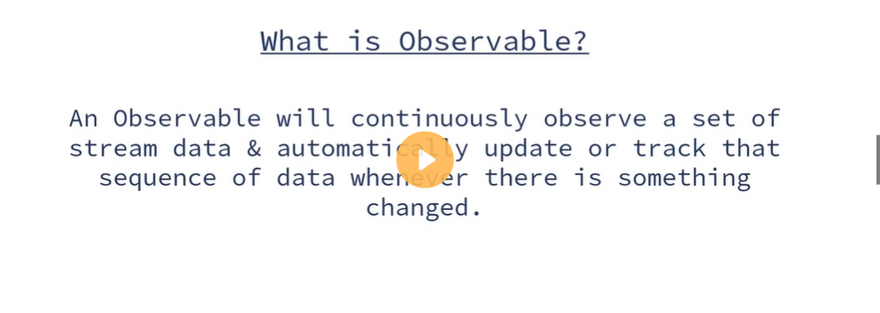
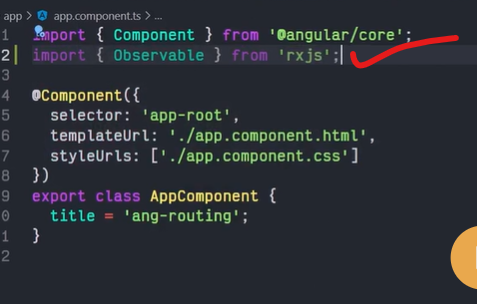
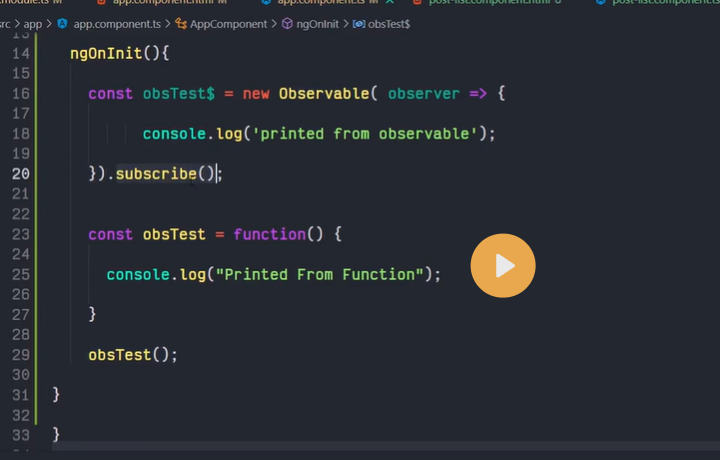
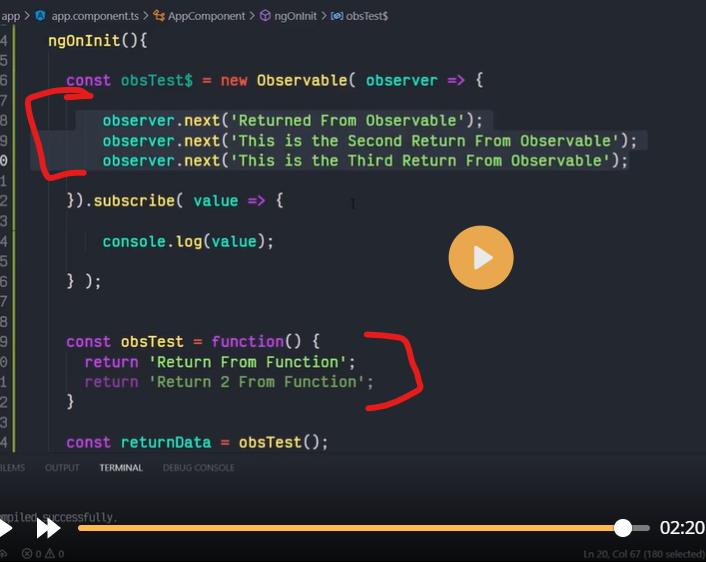
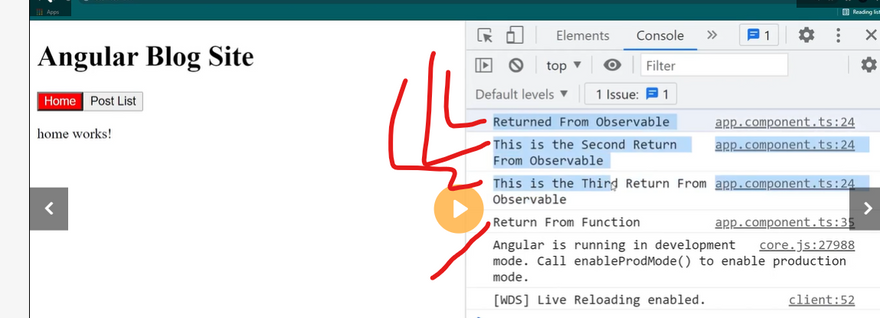
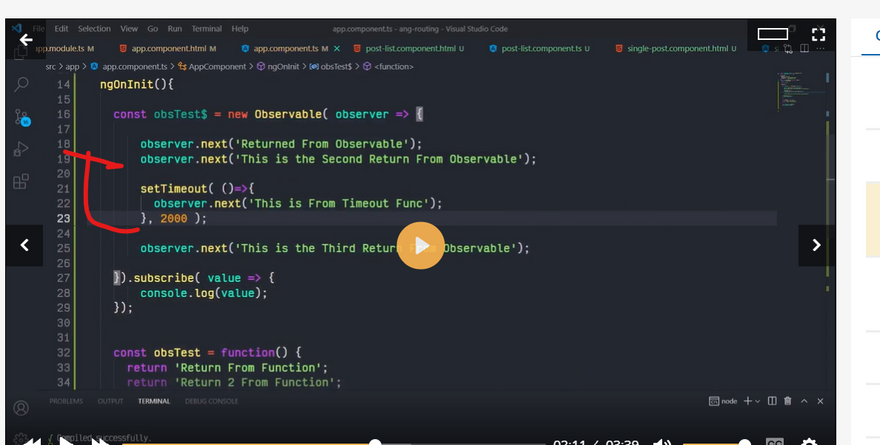
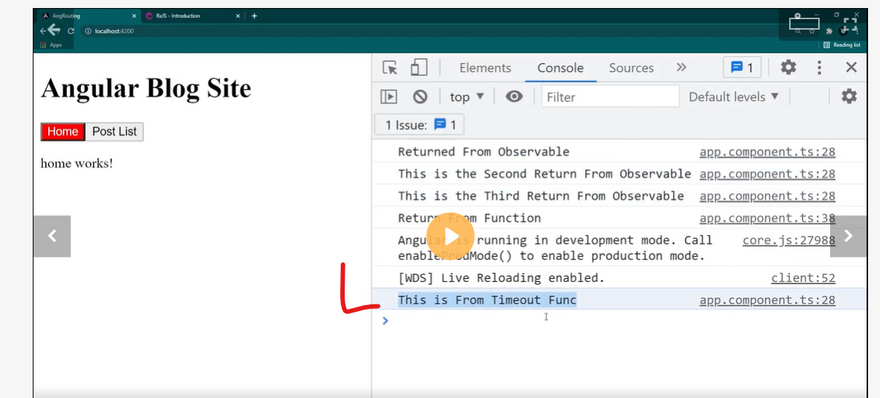
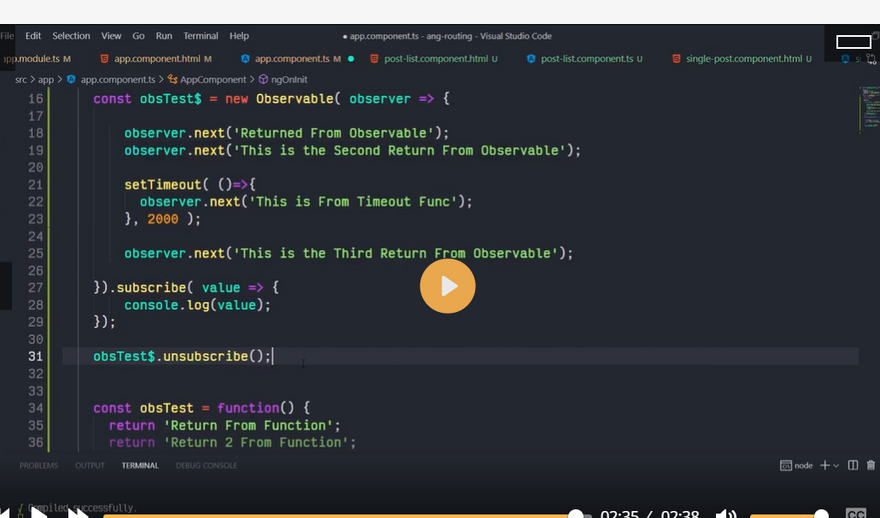
What is observable

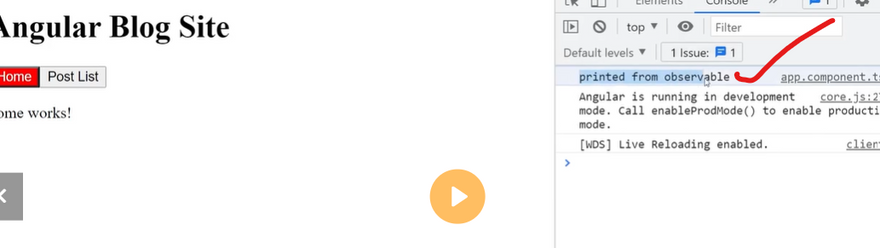
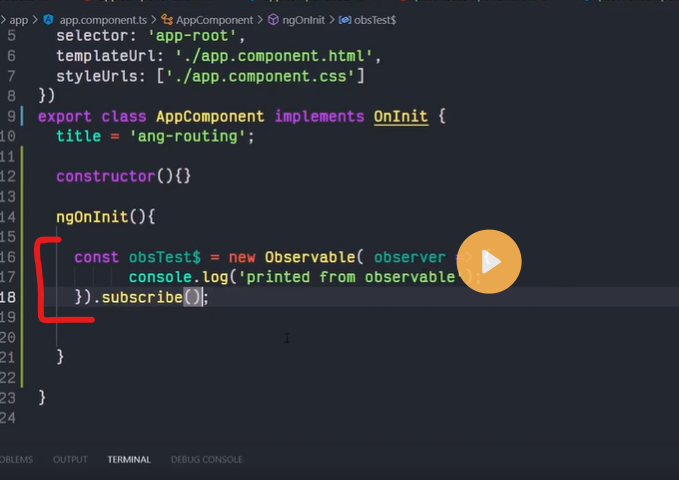
observable subscribe
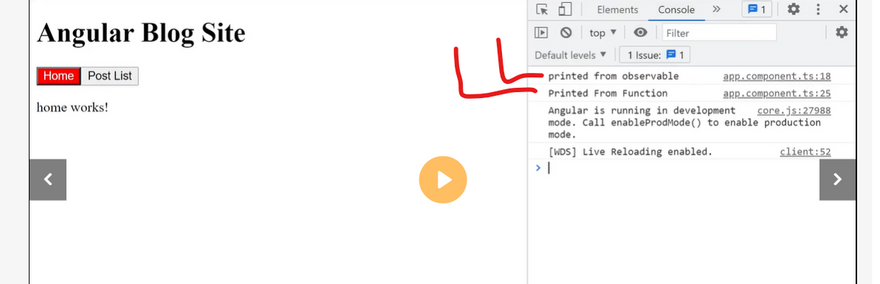
obsevable next
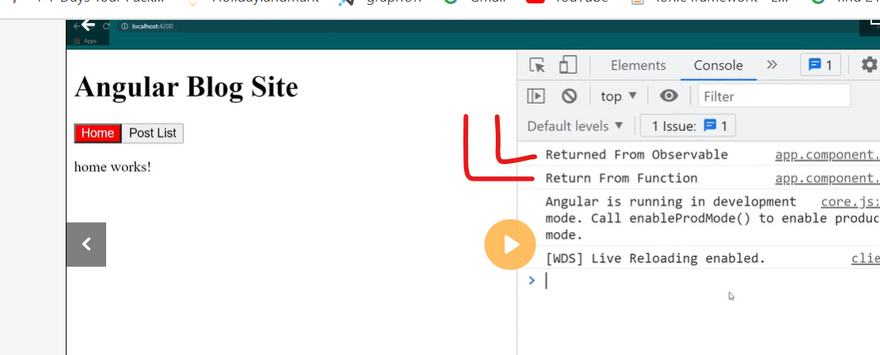
observable vs function

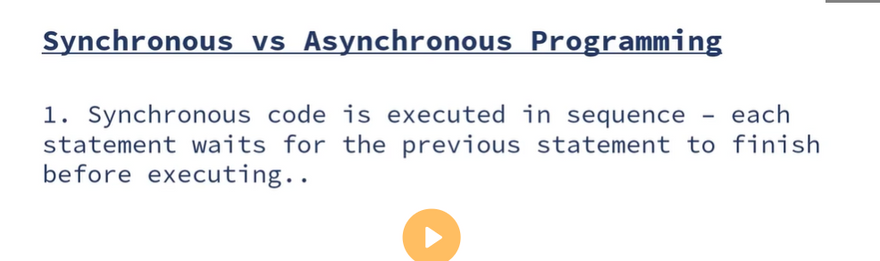
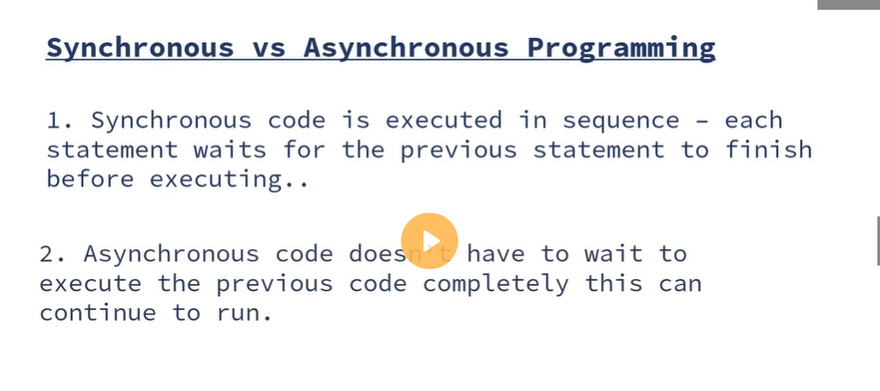
synronous and asynhronous programming
observable subscribe and unsubscribe
Multiple router parametrer
Query parameter
Seprate parameter for angular routing
Navigate parameter
Wild ard router
===============================================================
In AngularJS, routing allows you to navigate between different views and components of your application. It helps to make your application more modular and easier to maintain. Here's a step-by-step example of how to implement routing in your AngularJS application:
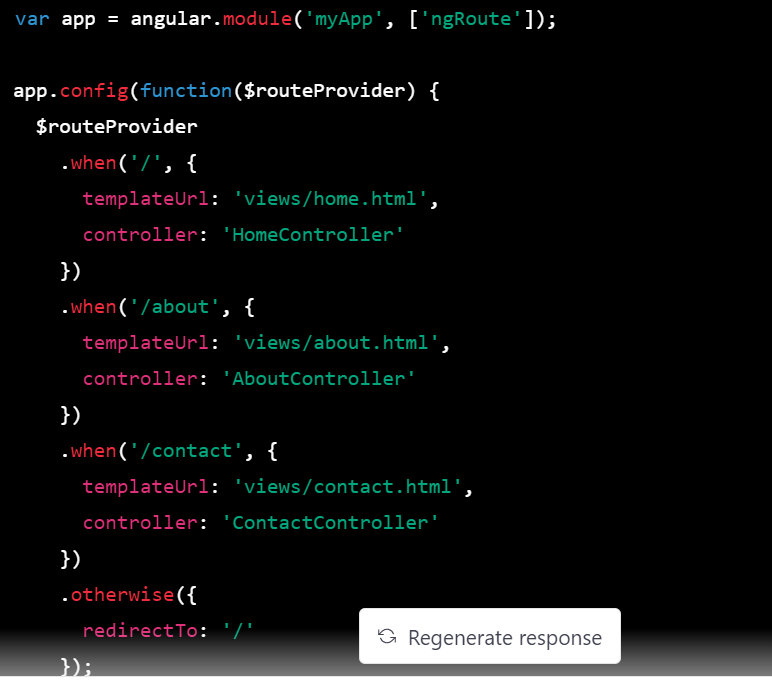
Step 1: Create a new AngularJS module and define your routes.
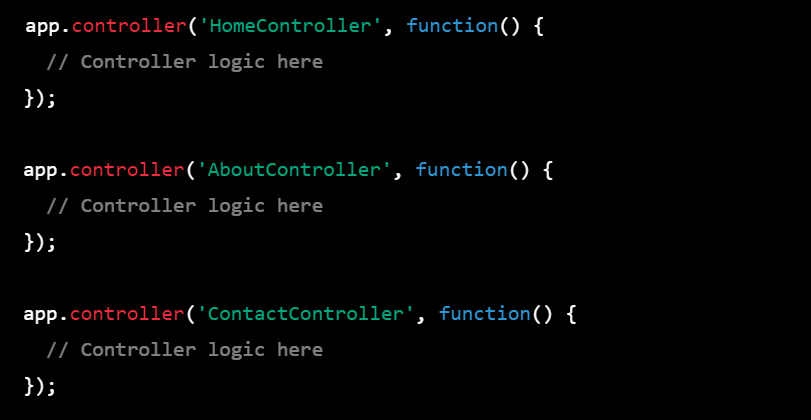
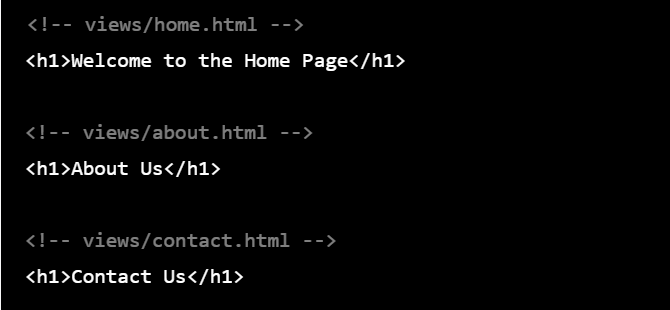
Step 2: Create your controllers and views.
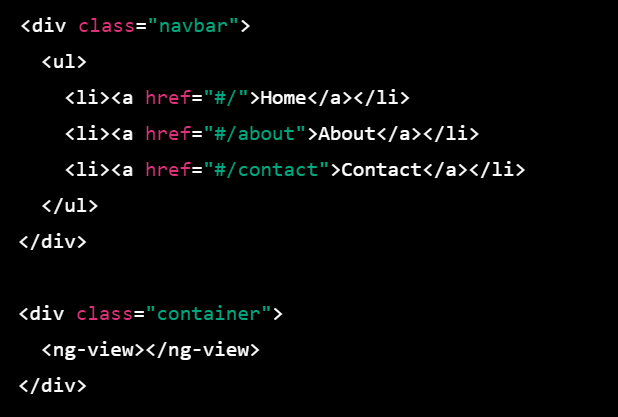
Step 3: Set up your HTML template with links to navigate between the views.
In this example, we've created a new AngularJS module called myApp and injected the ngRoute module as a dependency. We then define our routes using the $routeProvider service, which maps URLs to controllers and views.
We've also created three controllers, one for each view, and three HTML templates, one for each view. In our HTML template, we've set up a navbar with links to navigate between the views using the href attribute and the # symbol to indicate that we're navigating within the same page.
Finally, we've added a container with the ng-view directive, which is where our views will be rendered when we navigate between them.
Routing is a powerful feature of AngularJS that allows you to create a more modular and maintainable application. By mapping URLs to controllers and views, you can create a seamless user experience that makes it easy for users to navigate your application.

Top comments (0)