What is the State Management Flutter?
Types of State
Difference between provider and multiprovider
What is the State Management Flutter?
On in simple words, what a user sees in the application is one state, and he clicks on the button, he sees another UI screen. So now that screen is a state. So an application is made up of many states, i.e. UI. And their states are managed by Navigation and route.
A lot of your data can be Self-contained within a Single widget known as a Local State. And a state that needs to be shared throughout the widget tree is called Global State.
A state is an information that can be read when the widget is built and might change or be modified over the lifetime of the app. If you want to change your widget, you need to update the state object, which can be done by using the setState() function available for Stateful widgets. The setState() function allows us to set the properties of the state object that triggers a redraw of the UI.
State management is one of the most popular and necessary processes in the lifecycle of an application. According to official documentation, Flutter is declarative. It means Flutter builds its UI by reflecting the current state of your app.
Managing State using setState() starts becoming horrific as the code grows. because whenever you need to change the widget’s UI, you have to call setState() inside the changing widget, so that it gets rebuilt, and since the application is composed of hundreds of different widgets, so there could be hundred different points where you have to take care of calling setState() and managing state. Moreover, your front-end logic will be scattered in different places in the UI code. So, using this raw technique to manage the state is not a good option, we have a better approach to managing the state, which is not just Easy but Effective, called Provider State Management.
Types of State
the state management categorizes into two conceptual types, which are given below:
Ephemeral State
App State
Ephemeral State(local state)
This state is also known as UI State or local state. It is a type of state which is related to the specific widget, or you can say that it is a state that contains in a single widget. In this kind of state, you do not need to use state management techniques. The common example of this state is Text Field.
App State(global state)
It is different from the ephemeral state. It is a type of state that we want to share across various parts of our app and want to keep between user sessions. Thus, this type of state can be used globally. Sometimes it is also known as application state or shared state. Some of the examples of this state are User preferences, Login info, notifications in a social networking app, the shopping cart in an e-commerce app, read/unread state of articles in a news app, etc
Provider
Provider State Management, which is recommended by Google as well, mainly provides you with a central point to manage the state, and to write front-end logic.
A provider is a third-party library. Here, we need to understand three main concepts to use this library.
ChangeNotifier
ChangeNotifierProvider
Consumer
ChangeNotifier is a simple way to manage state in Flutter applications. It is part of the provider package, which is a recommended approach for managing state in Flutter. ChangeNotifier provides a way to notify listeners (typically widgets) about changes in state, allowing the UI to react and rebuild accordingly.
Why Use ChangeNotifier
Simplicity: ChangeNotifier is straightforward to use and integrate into your Flutter application.
Performance: It ensures that only the parts of the UI that need to be rebuilt are rebuilt, improving performance.
Scalability: While simple, ChangeNotifier can be used in more complex state management scenarios.
Separation of Concerns: It helps separate business logic from UI code, making your code more modular and easier to maintain.
How to Use ChangeNotifier in Flutter
Step 1: Add Dependencies
Add the provider package to your pubspec.yaml file.
dependencies:
  flutter:
    sdk: flutter
  provider: ^5.0.0
Step 2: Create a ChangeNotifier Class
Create a class that extends ChangeNotifier. This class will manage the state and notify listeners about state changes.
import 'package:flutter/material.dart';

class Counter extends ChangeNotifier {
  int _count = 0;

  int get count => _count;

  void increment() {
    _count++;
    notifyListeners();
  }
}
Step 3: Provide the ChangeNotifier
Use the ChangeNotifierProvider to provide the instance of your ChangeNotifier to the widget tree. Typically, this is done at the root of your application.
import 'package:flutter/material.dart';
import 'package:provider/provider.dart';
import 'counter.dart';

void main() {
  runApp(
    ChangeNotifierProvider(
      create: (context) => Counter(),
      child: MyApp(),
    ),
  );
}

class MyApp extends StatelessWidget {
  @override
  Widget build(BuildContext context) {
    return MaterialApp(
      home: CounterScreen(),
    );
  }
}
Step 4: Consume the ChangeNotifier
Use the Consumer widget to listen to changes in the ChangeNotifier and rebuild the UI accordingly.
import 'package:flutter/material.dart';
import 'package:provider/provider.dart';
import 'counter.dart';

class CounterScreen extends StatelessWidget {
  @override
  Widget build(BuildContext context) {
    return Scaffold(
      appBar: AppBar(
        title: Text('Provider Example'),
      ),
      body: Center(
        child: Column(
          mainAxisAlignment: MainAxisAlignment.center,
          children: <Widget>[
            Text('You have pushed the button this many times:'),
            Consumer<Counter>(
              builder: (context, counter, child) {
                return Text(
                  '${counter.count}',
                  style: Theme.of(context).textTheme.headline4,
                );
              },
            ),
          ],
        ),
      ),
      floatingActionButton: FloatingActionButton(
        onPressed: () {
          Provider.of<Counter>(context, listen: false).increment();
        },
        tooltip: 'Increment',
        child: Icon(Icons.add),
      ),
    );
  }
}
Explanation
Creating the ChangeNotifier Class:
- The Counter class extends ChangeNotifier.
- It contains a private _count variable and a getter count to access its value.
The increment method updates _count and calls notifyListeners(), which notifies all listeners about the change
.
Providing the ChangeNotifier:ChangeNotifierProvider is used to create and provide an instance of Counter to the widget tree.
This is typically done in the main function, wrapping the entire app
.
Consuming the ChangeNotifier:The Consumer widget listens to changes in the Counter class.
When notifyListeners() is called, Consumer rebuilds the part of the widget tree that depends on the Counter.
The Provider.of(context, listen: false).increment(); call is used to access the Counter instance and call its increment method without listening to changes
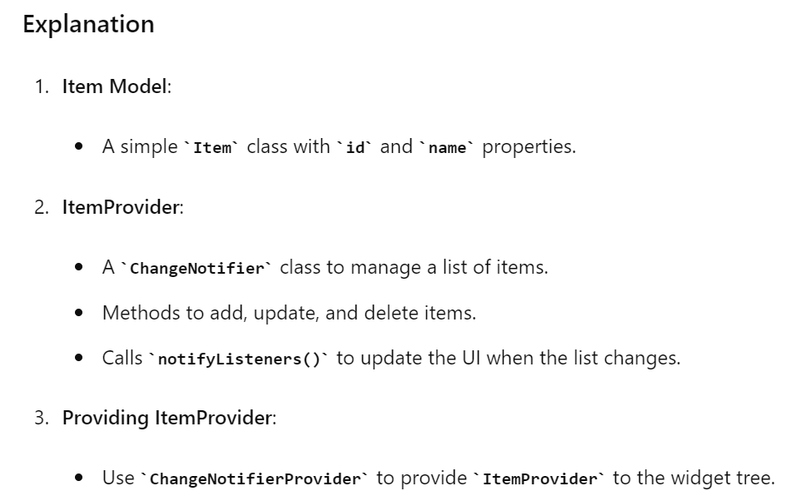
Example with CRUD Operations
Define the Model Class
class Item {
  final String id;
  final String name;

  Item({required this.id, required this.name});
}
Step 2: Create a ChangeNotifier for CRUD Operations
import 'package:flutter/material.dart';
import 'item.dart';

class ItemProvider extends ChangeNotifier {
  List<Item> _items = [];

  List<Item> get items => _items;

  void addItem(String name) {
    final newItem = Item(id: DateTime.now().toString(), name: name);
    _items.add(newItem);
    notifyListeners();
  }

  void updateItem(String id, String newName) {
    final itemIndex = _items.indexWhere((item) => item.id == id);
    if (itemIndex >= 0) {
      _items[itemIndex] = Item(id: id, name: newName);
      notifyListeners();
    }
  }

  void deleteItem(String id) {
    _items.removeWhere((item) => item.id == id);
    notifyListeners();
  }
}
Step 3: Provide the ItemProvider
import 'package:flutter/material.dart';
import 'package:provider/provider.dart';
import 'item_provider.dart';

void main() {
  runApp(
    ChangeNotifierProvider(
      create: (context) => ItemProvider(),
      child: MyApp(),
    ),
  );
}

class MyApp extends StatelessWidget {
  @override
  Widget build(BuildContext context) {
    return MaterialApp(
      home: ItemScreen(),
    );
  }
}
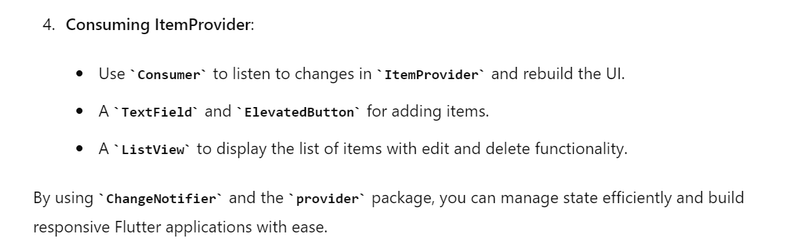
Step 4: Consume the ItemProvider in the UI
import 'package:flutter/material.dart';
import 'package:provider/provider.dart';
import 'item_provider.dart';
import 'item.dart';

class ItemScreen extends StatelessWidget {
  final TextEditingController _controller = TextEditingController();

  @override
  Widget build(BuildContext context) {
    final itemProvider = Provider.of<ItemProvider>(context);

    return Scaffold(
      appBar: AppBar(
        title: Text('Item CRUD Example'),
      ),
      body: Column(
        children: <Widget>[
          TextField(
            controller: _controller,
            decoration: InputDecoration(labelText: 'Item Name'),
          ),
          ElevatedButton(
            onPressed: () {
              itemProvider.addItem(_controller.text);
              _controller.clear();
            },
            child: Text('Add Item'),
          ),
          Expanded(
            child: ListView.builder(
              itemCount: itemProvider.items.length,
              itemBuilder: (context, index) {
                final item = itemProvider.items[index];
                return ListTile(
                  title: Text(item.name),
                  trailing: Row(
                    mainAxisSize: MainAxisSize.min,
                    children: <Widget>[
                      IconButton(
                        icon: Icon(Icons.edit),
                        onPressed: () {
                          _controller.text = item.name;
                          showDialog(
                            context: context,
                            builder: (context) => AlertDialog(
                              title: Text('Edit Item'),
                              content: TextField(
                                controller: _controller,
                                decoration: InputDecoration(labelText: 'Item Name'),
                              ),
                              actions: <Widget>[
                                TextButton(
                                  onPressed: () {
                                    itemProvider.updateItem(item.id, _controller.text);
                                    _controller.clear();
                                    Navigator.of(context).pop();
                                  },
                                  child: Text('Save'),
                                ),
                              ],
                            ),
                          );
                        },
                      ),
                      IconButton(
                        icon: Icon(Icons.delete),
                        onPressed: () {
                          itemProvider.deleteItem(item.id);
                        },
                      ),
                    ],
                  ),
                );
              },
            ),
          ),
        ],
      ),
    );
  }
}
.
Another Example
Define the CounterModel class that extends ChangeNotifier:
import 'package:flutter/material.dart';

class CounterModel extends ChangeNotifier {
  int _counter = 0;

  int get counter => _counter;

  void increment() {
    _counter++;
    notifyListeners();
  }

  void decrement() {
    if (_counter > 0) {
      _counter--;
      notifyListeners();
    }
  }
}
Create the main application widget MyApp:
import 'package:flutter/material.dart';
import 'package:provider/provider.dart';
import 'counter_model.dart';
import 'counter_model_view.dart';

void main() {
  runApp(MyApp());
}

class MyApp extends StatelessWidget {
  @override
  Widget build(BuildContext context) {
    return MaterialApp(
      theme: ThemeData(
        primarySwatch: Colors.blue,
      ),
      home: ChangeNotifierProvider<CounterModel>(
        create: (_) => CounterModel(),
        child: CounterModelView(),
      ),
    );
  }
}
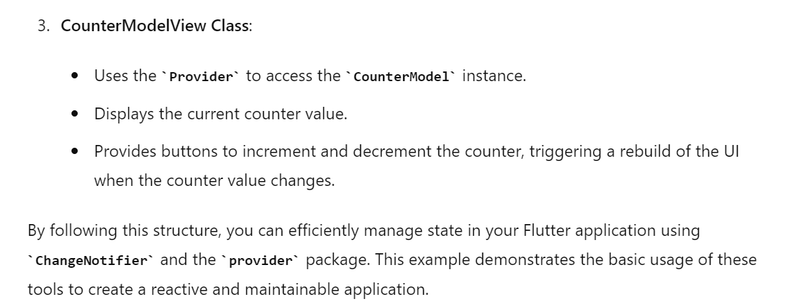
Implement the CounterModelView widget:
import 'package:flutter/material.dart';
import 'package:provider/provider.dart';
import 'counter_model.dart';

class CounterModelView extends StatelessWidget {
  @override
  Widget build(BuildContext context) {
    final counterModel = Provider.of<CounterModel>(context);

    return Scaffold(
      appBar: AppBar(
        title: Text('Counter with Provider'),
      ),
      body: Center(
        child: Column(
          mainAxisAlignment: MainAxisAlignment.center,
          children: <Widget>[
            Text(
              'You have pushed the button this many times:',
            ),
            Text(
              '${counterModel.counter}',
              style: Theme.of(context).textTheme.headline4,
            ),
            Row(
              mainAxisAlignment: MainAxisAlignment.center,
              children: <Widget>[
                ElevatedButton(
                  onPressed: counterModel.increment,
                  child: Text('Increment'),
                ),
                SizedBox(width: 20),
                ElevatedButton(
                  onPressed: counterModel.decrement,
                  child: Text('Decrement'),
                ),
              ],
            ),
          ],
        ),
      ),
    );
  }
}

Difference between provider and multiprovider
In Flutter, both Provider and MultiProvider are part of the provider package, which is used for state management. They serve different purposes, and understanding the distinction between them can help you manage state more effectively in your Flutter applications.
Provider
Provider is used to expose a single instance of a state management class to the widget tree. It makes the state available to all descendant widgets. This is suitable when you only need to provide a single object or service to your widget tree.
Example:
import 'package:flutter/material.dart';
import 'package:provider/provider.dart';

void main() {
  runApp(
    ChangeNotifierProvider(
      create: (context) => Counter(),
      child: MyApp(),
    ),
  );
}

class Counter with ChangeNotifier {
  int _count = 0;

  int get count => _count;

  void increment() {
    _count++;
    notifyListeners();
  }
}

class MyApp extends StatelessWidget {
  @override
  Widget build(BuildContext context) {
    return MaterialApp(
      home: CounterApp(),
    );
  }
}

class CounterApp extends StatelessWidget {
  @override
  Widget build(BuildContext context) {
    return Scaffold(
      appBar: AppBar(
        title: Text('Provider Example'),
      ),
      body: Center(
        child: Column(
          mainAxisAlignment: MainAxisAlignment.center,
          children: [
            Consumer<Counter>(
              builder: (context, counter, child) => Text(
                'Counter Value: ${counter.count}',
                style: TextStyle(fontSize: 24),
              ),
            ),
            SizedBox(height: 20),
            ElevatedButton(
              onPressed: () {
                context.read<Counter>().increment();
              },
              child: Text('Increment'),
            ),
          ],
        ),
      ),
    );
  }
}
MultiProvider
MultiProvider is a convenience widget that allows you to provide multiple instances of different types of providers to the widget tree. This is useful when your application needs to manage multiple pieces of state or services that need to be provided to different parts of the widget tree.
Example:
import 'package:flutter/material.dart';
import 'package:provider/provider.dart';

void main() {
  runApp(
    MultiProvider(
      providers: [
        ChangeNotifierProvider(create: (context) => Counter()),
        ChangeNotifierProvider(create: (context) => AnotherCounter()),
      ],
      child: MyApp(),
    ),
  );
}

class Counter with ChangeNotifier {
  int _count = 0;

  int get count => _count;

  void increment() {
    _count++;
    notifyListeners();
  }
}

class AnotherCounter with ChangeNotifier {
  int _anotherCount = 0;

  int get anotherCount => _anotherCount;

  void increment() {
    _anotherCount++;
    notifyListeners();
  }
}

class MyApp extends StatelessWidget {
  @override
  Widget build(BuildContext context) {
    return MaterialApp(
      home: CounterApp(),
    );
  }
}

class CounterApp extends StatelessWidget {
  @override
  Widget build(BuildContext context) {
    return Scaffold(
      appBar: AppBar(
        title: Text('MultiProvider Example'),
      ),
      body: Center(
        child: Column(
          mainAxisAlignment: MainAxisAlignment.center,
          children: [
            Consumer<Counter>(
              builder: (context, counter, child) => Text(
                'Counter Value: ${counter.count}',
                style: TextStyle(fontSize: 24),
              ),
            ),
            Consumer<AnotherCounter>(
              builder: (context, anotherCounter, child) => Text(
                'Another Counter Value: ${anotherCounter.anotherCount}',
                style: TextStyle(fontSize: 24),
              ),
            ),
            SizedBox(height: 20),
            ElevatedButton(
              onPressed: () {
                context.read<Counter>().increment();
                context.read<AnotherCounter>().increment();
              },
              child: Text('Increment Both'),
            ),
          ],
        ),
      ),
    );
  }
}
Key Differences
Single vs Multiple Providers
:
- Provider (or ChangeNotifierProvider, FutureProvider, etc.) is used to provide a single instance of a state management class to the widget tree.
- MultiProvider allows you to provide multiple instances of different providers at once, making it convenient to manage complex state that involves multiple objects or services
.
Syntax and Usage:
Using Provider (or ChangeNotifierProvider, etc.), you typically wrap your main widget with a single provider.
MultiProvider uses a list of providers, making it easy to manage multiple providers in a clean and organized way.
Readability and Organization:
MultiProvider improves code readability and organization when dealing with multiple providers, as it allows you to group all your providers in one place.

Top comments (0)