Step 1: Create a Project
Log in to Jira:
Open your web browser and log in to your Jira instance.
Navigate to the Jira Dashboard:
Once logged in, you will typically land on the Jira dashboard. If not, navigate to the dashboard by selecting the "Dashboard" option in the top menu.
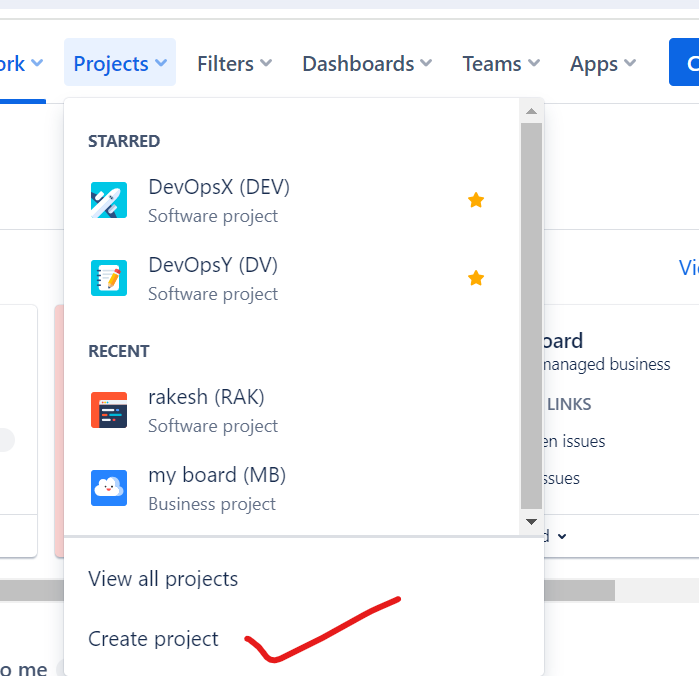
Create a New Project:
Click on the "Projects" option in the top menu and then click on the "+ Create Project" button.
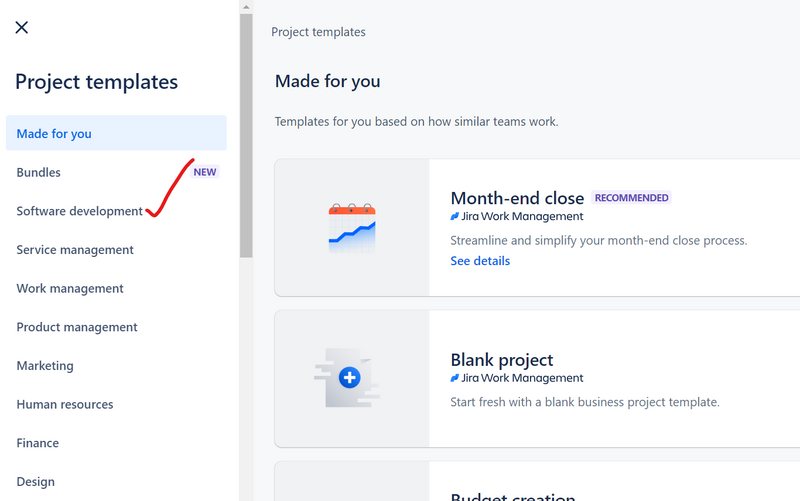
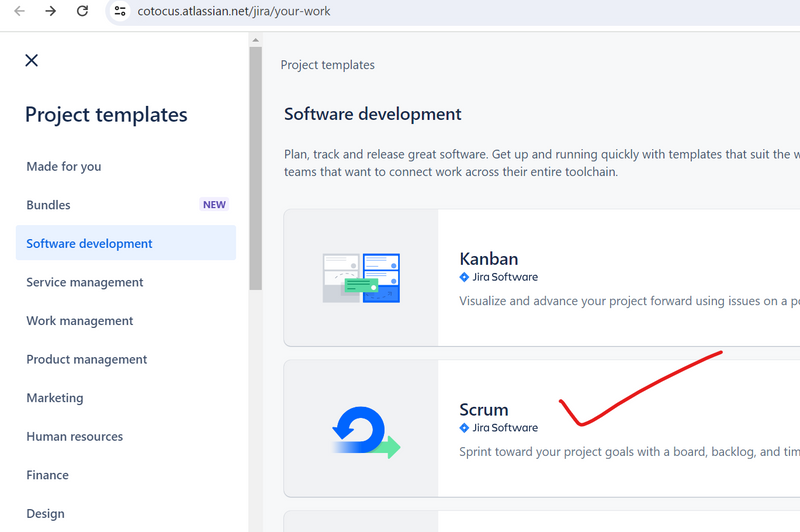
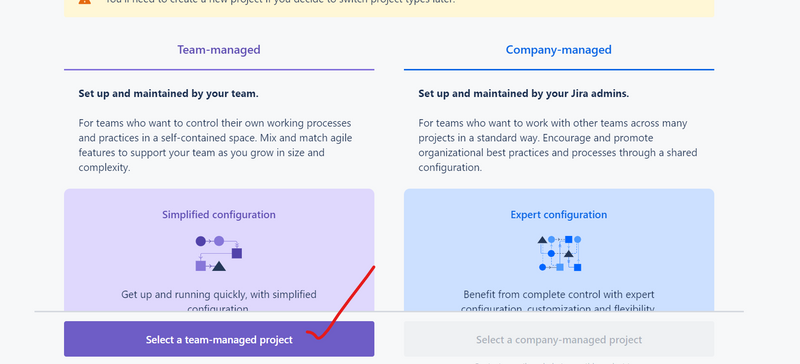

Select Project Type:
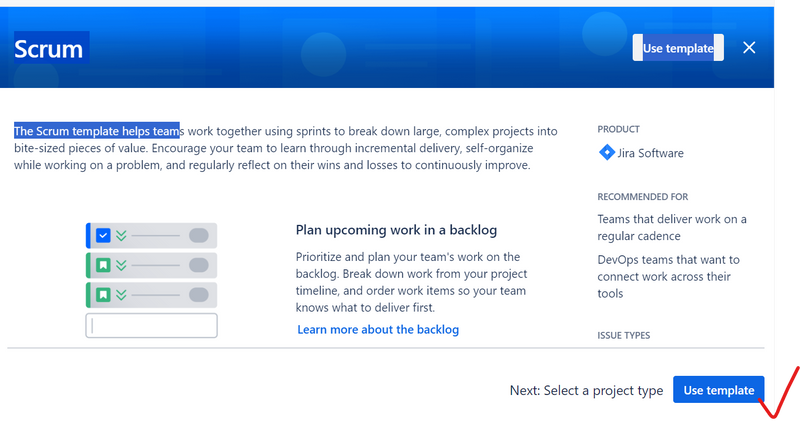
Choose the project type based on your requirements (e.g., Scrum, Kanban, Business project). Follow the prompts to set up the project, providing details such as project name, key, and project lead.
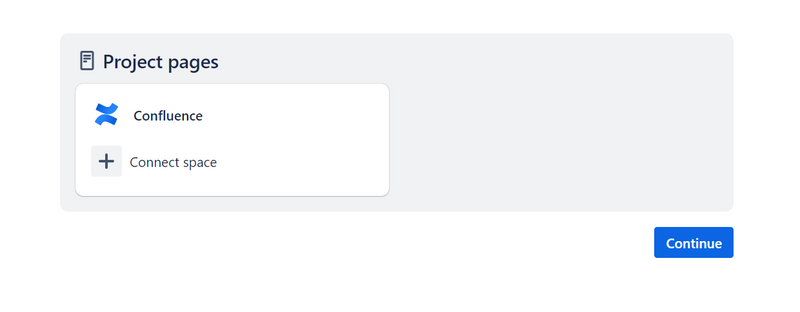
Configure Project Settings:
Configure additional project settings, such as permissions, issue types, and workflows. Click "Create" to finalize the project creation.
Step 2: Create an Issue in the Project
Navigate to the Project:
Go to the project you just created by selecting it from the "Projects" menu.
Click on "Create" (Top Right):
or go to backlog by clicking
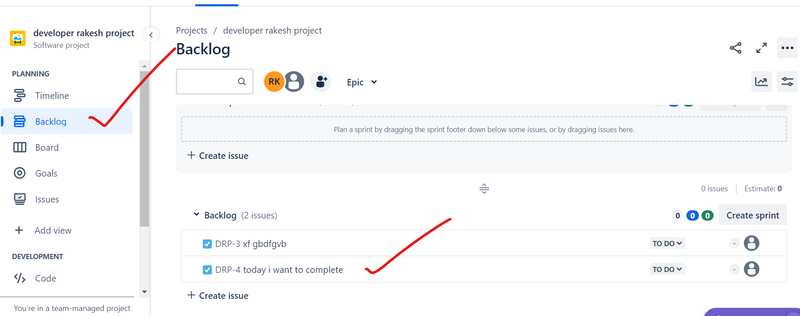
In the project, click on the "Create" button (usually located in the top-right corner).
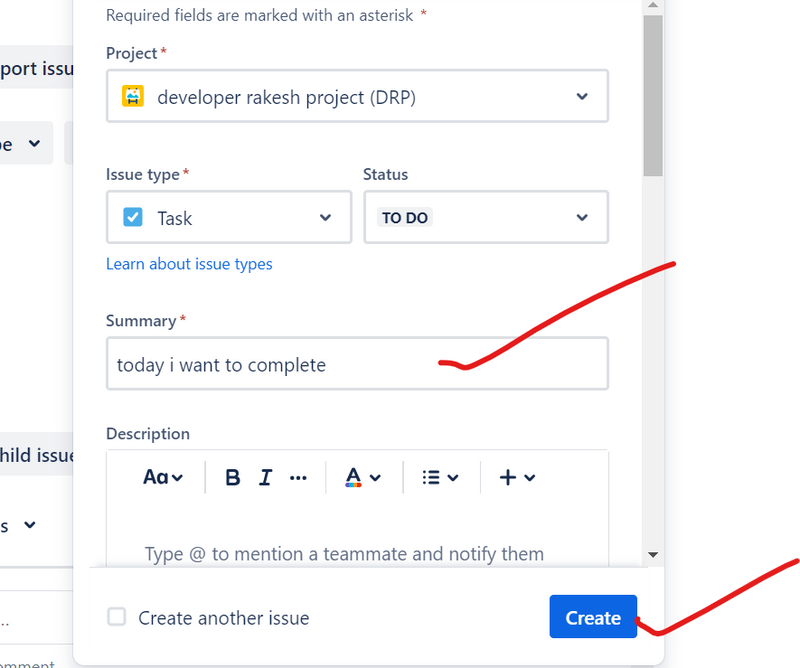
Select Issue Type:
Choose the issue type for your task (e.g., Task, Story, Bug). Fill in the required fields, including summary and description.
Set Additional Details:
Optionally, set additional details such as priority, due date, and assignee. Attachments and comments can also be added.
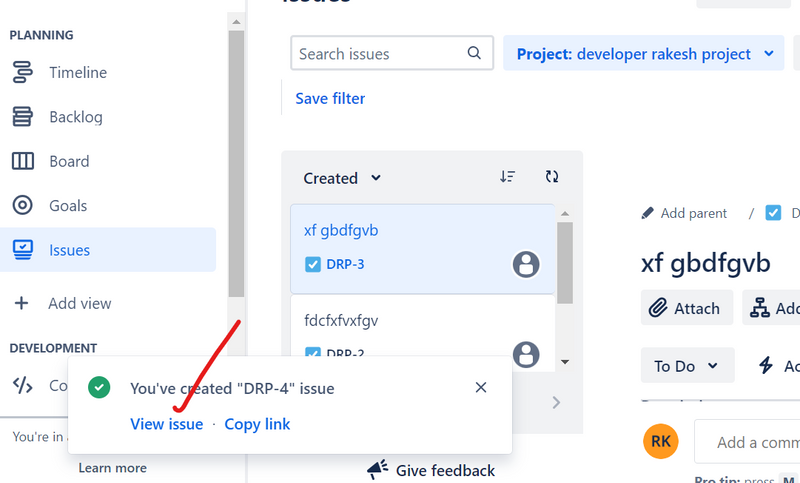
Click "Create":
Click the "Create" button to create the issue. The issue is now added to the project.
Step 3: Transfer the Issue to a Board
Navigate to the Issue:
Open the issue you just created by clicking on its key or summary.
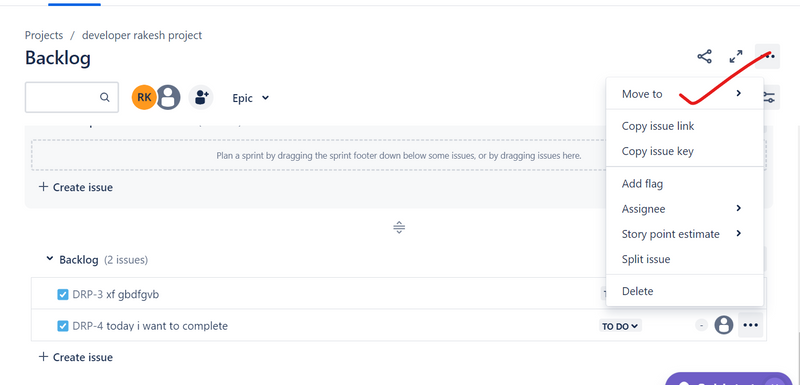
Click on "More" (Ellipsis):
In the top-right corner of the issue details page, click on the "More" button (ellipsis) to reveal additional options.
Select "Move":
From the dropdown menu, select "Move." This initiates the process of moving the issue to another project.
Choose the Target Project:
In the "Move Issue" dialog, choose the target project to which you want to move the issue. Select the project from the dropdown list.
Select Issue Type in Target Project:
Choose the appropriate issue type for the target project. Fill in any required fields for the new project.
Click "Move":
Review the summary of the move, ensuring all information is correct. Click the "Move" button to complete the process.
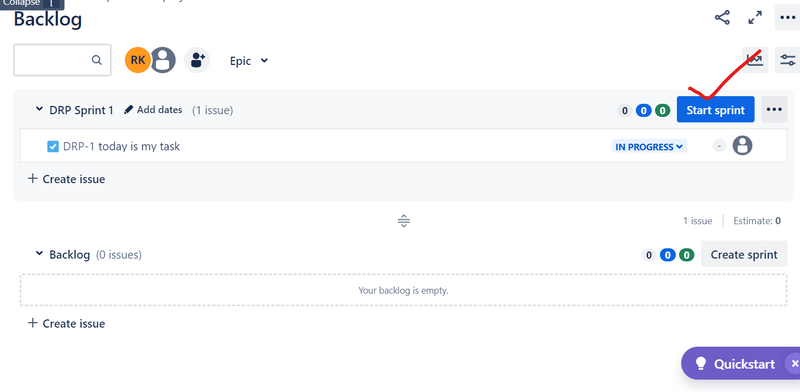
Step 4: Confirm on the Target Board
Navigate to the Target Board:
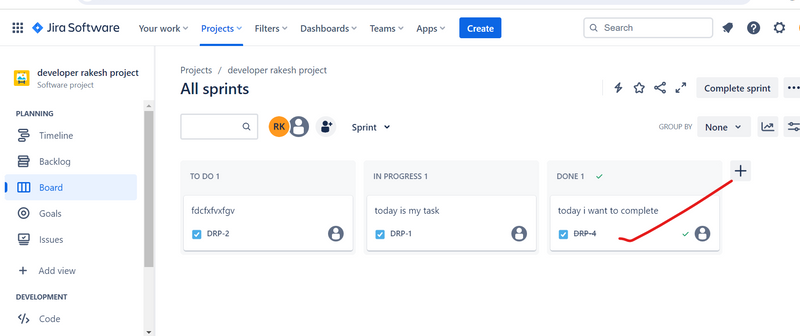
Go to the board associated with the target project by selecting it from the "Boards" menu.
Verify the Issue:
Check the board to confirm that the issue has been successfully transferred. Ensure it is in the correct column based on its status.
Now, you've successfully created a project, created an issue, and transferred that issue to another project's board in Jira. Remember that specific steps may vary slightly depending on your Jira instance's configuration and version. If you encounter any issues, consult Jira's documentation or contact your Jira administrator for assistance.

Top comments (0)