Steps in pgAdmin to Add Columns
-
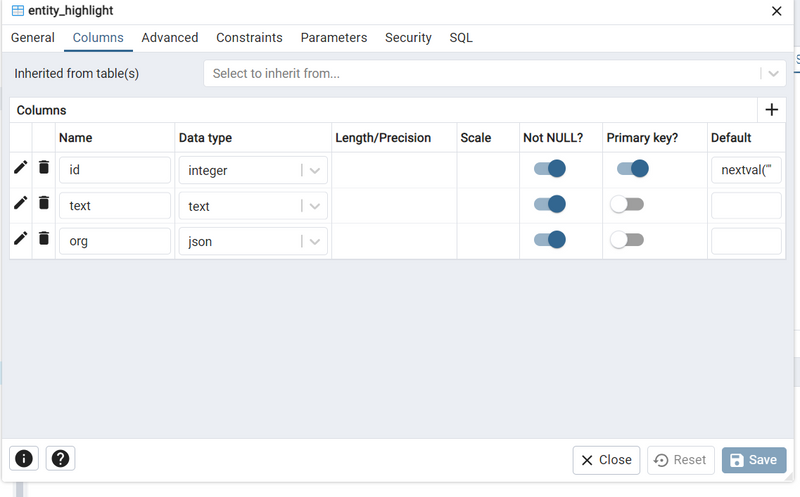
Open the TableIn pgAdmin, expand your database by clicking on it. Navigate to Schemas > Tables. Find and select your table (e.g., entity_highlight). -
Open the Table PropertiesRight-click on the table name. Select Properties from the context menu. -
Add ColumnsGo to the Columns tab. Click the + (Add) button to add a new column. -
Define ColumnsFor each column, specify the following details:
Column 1: id
Name: id
Data Type: SERIAL
Primary Key: Check the box or configure it in the Constraints tab.
Click Save or OK.
Column 2: text

Name: text
Data Type: TEXT
NOT NULL: Check the box to enforce this constraint.
Column 3: org

Name: org
Data Type: JSON
NOT NULL: Check the box to enforce this constraint.
-
Save ChangesClick Save or OK to apply the changes.


Top comments (0)