Deploying a Simple Web Application with Docker:
Create a Dockerfile using multi-stage builds
print Hello, Docker! using dockerfile
How to Integrating shell scripts with CMD or ENTRYPOINT in the Dockerfile
Deploying a Simple Web Application with Docker
FROM ubuntu
MAINTAINER Rajesh Kumar <rajesh@devopsschool.com?
RUN apt-get update
RUN apt-get install git -y
COPY index.html /opt
FROM ubuntu
MAINTAINER Rajesh Kumar <rajesh@devopsschool.com?
RUN apt-get update
RUN apt-get install git -y
COPY index.html /opt
FROM httpd
MAINTAINER Rajesh Kumar <rajesh@devopsschool.com?
RUN apt-get update
RUN apt-get install git -y
COPY index.html /opt
============or===========
# Use the httpd (Apache HTTP Server) base image
FROM httpd

# Metadata as defined in the Dockerfile spec
LABEL maintainer="Rajesh Kumar <rajesh@devopsschool.com>"

# Update package lists and install git
RUN apk update && \
    apk add git

# Copy index.html to /opt in the httpd image
COPY index.html /opt

Create a Dockerfile using multi-stage builds
# Stage 1: Build stage
FROM node:14 AS builder

WORKDIR /app

# Copy package.json and package-lock.json to the working directory
COPY package*.json ./

# Install dependencies
RUN npm install

# Copy the rest of the application code
COPY . .

# Build the application
RUN npm run build

# Stage 2: Production stage
FROM node:14-alpine

WORKDIR /app

# Copy only the necessary files from the builder stage
COPY --from=builder /app/dist ./dist
COPY --from=builder /app/package*.json ./

# Install only production dependencies
RUN npm install --production

# Expose the port the app runs on
EXPOSE 3000

# Command to run the application
CMD ["npm", "start"]
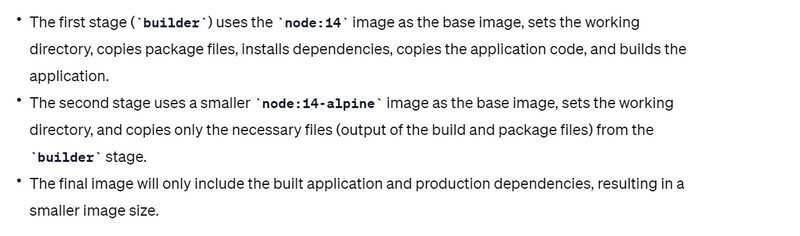
Explanation
How, let's build and run this Dockerfile.
Save the Dockerfile in your project directory.
Open a terminal and navigate to the project directory.
Build the Docker image:
docker build -t my-node-app
.
This will create a Docker image with the tag my-node-app.
Run the Docker container:
docker run -p 3000:3000 my-node-app
This will run the container, and you can access your Node.js application at http://localhost:3000.
By using multi-stage builds, you can keep the final Docker image small and optimized for production use.
Another Example of Create a Dockerfile using multi-stage builds
# Stage 1: Build stage
FROM python:3.9 AS builder

WORKDIR /app

# Copy only the requirements file to leverage Docker cache
COPY requirements.txt .

# Install dependencies
RUN pip install --no-cache-dir -r requirements.txt

# Copy the rest of the application code
COPY . .

# Stage 2: Production stage
FROM python:3.9-slim

WORKDIR /app

# Copy only the necessary files from the builder stage
COPY --from=builder /app /app

# Expose the port the app runs on
EXPOSE 5000

# Command to run the application
CMD ["python", "app.py"]
Explanation
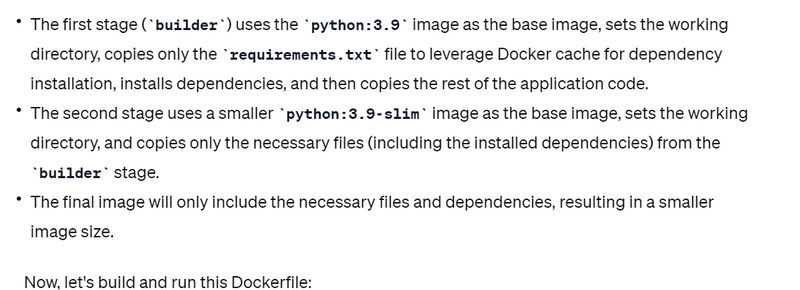
Now, let's build and run this Dockerfile:
Save the Dockerfile in your project directory.
Create a requirements.txt file in the same directory with your Python dependencies. For example:
Flask==2.0.1
Create a simple Flask application file named app.py:
from flask import Flask

app = Flask(__name__)

@app.route('/')
def hello():
    return 'Hello, Docker!'
Open a terminal and navigate to the project directory.
Build the Docker image:
docker build -t my-flask-app .
This will create a Docker image with the tag my-flask-app.
Run the Docker container:
docker run -p 5000:5000 my-flask-app
This will run the container, and you can access your Flask application at http://localhost:5000.
By using multi-stage builds and leveraging the Docker cache, the final Docker image will be optimized, containing only the necessary files and dependencies for running the application.
Print Hello, Docker! using dockerfile
Create a Dockerfile:
Let's create a simple Dockerfile that prints "Hello, Docker!" when a container is run.
# Dockerfile
FROM alpine:latest
CMD echo "Hello, Docker!"
Build Docker Image:
Use the following commands to build the Docker image:
# Navigate to the directory containing the Dockerfile
cd /path/to/dockerfile/directory

# Build the Docker image
docker build -t mydockerimage .
The output will show the layers being created:
Sending build context to Docker daemon  2.048kB
Step 1/2 : FROM alpine:latest
 ---> 196d12cf6ab1
Step 2/2 : CMD echo "Hello, Docker!"
 ---> Running in cdbdd0a5f548
 ---> 8c2e06607696
Removing intermediate container cdbdd0a5f548
Successfully built 8c2e06607696
Successfully tagged mydockerimage:latest
Run Docker Container:
Now, let's run a container using the created image:
docker run mydockerimage
The output should be:
Hello, Docker!

How to Integrating shell scripts with CMD or ENTRYPOINT in the Dockerfile
When working with shell scripting in a Dockerfile, you are essentially creating a set of instructions for building an environment that can run shell scripts. While Dockerfiles themselves don't directly include constructs like for loops, if-else statements, or arrays (as they are declarative and focused on setting up the environment), you can use shell scripts within the Dockerfile to incorporate these constructs. Here's a checklist:
Choose a Base Image:
Select a base image that includes the shell (e.g., Alpine, Ubuntu).
FROM alpine:latest
Set the Working Directory:
Define a working directory for your scripts.
WORKDIR /usr/src/app
Copy Shell Scripts:
Copy your shell scripts into the container.
COPY scripts/ /usr/src/app/scripts/
Grant Execute Permissions:
Ensure that your scripts have the execute permission.
RUN chmod +x /usr/src/app/scripts/*.sh
Programming Constructs in Shell Scripts:
Utilize the programming constructs like for loops, if-else statements, and arrays within your shell scripts.
# Example: scripts/myscript.sh
#!/bin/bash

# For loop
for i in {1..5}; do
    echo "Iteration $i"
done

# If-else statement
if [ "$1" == "production" ]; then
    echo "Running in production mode"
else
    echo "Running in development mode"
fi

# Array
my_array=("apple" "banana" "orange")
for fruit in "${my_array[@]}"; do
    echo "Fruit: $fruit"
done
CMD or ENTRYPOINT:
Specify the command to run when the container starts, invoking your main shell script.
CMD ["/usr/src/app/scripts/myscript.sh", "development"]
The CMD instruction here specifies the default mode for your script.
Build and Run Commands:
Use the docker build and docker run commands to build and run your Docker image.
docker build -t my-shell-app .
docker run my-shell-app
This checklist demonstrates how to incorporate shell scripts with programming constructs into a Dockerfile. The key is to encapsulate your desired logic within your shell scripts, which are then executed when the container starts.

Top comments (0)