Define docker tool and its application.
How Jenkins helps automate the building, testing, and deployment of applications
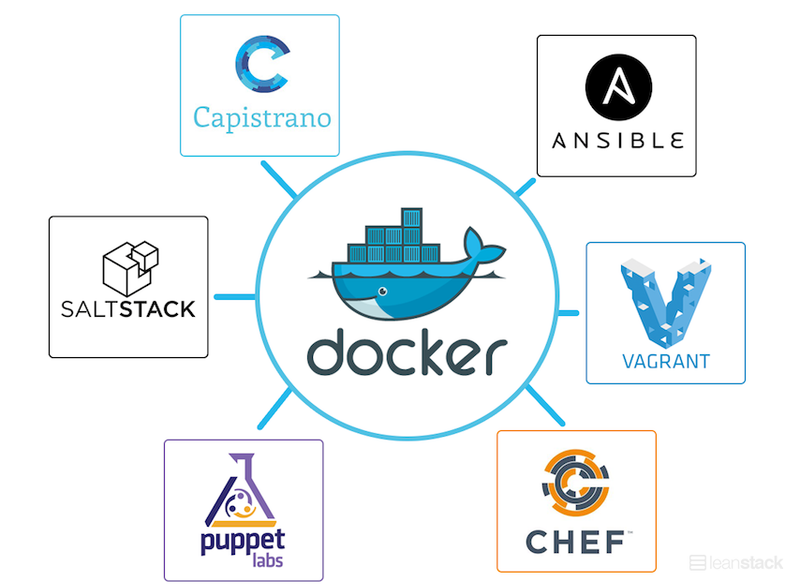
How Puppet manage configuration of infrastructure
Here's a checklist of various tools commonly used in conjunction with Docker for enhancing different aspects of Dockerized applications and infrastructure:
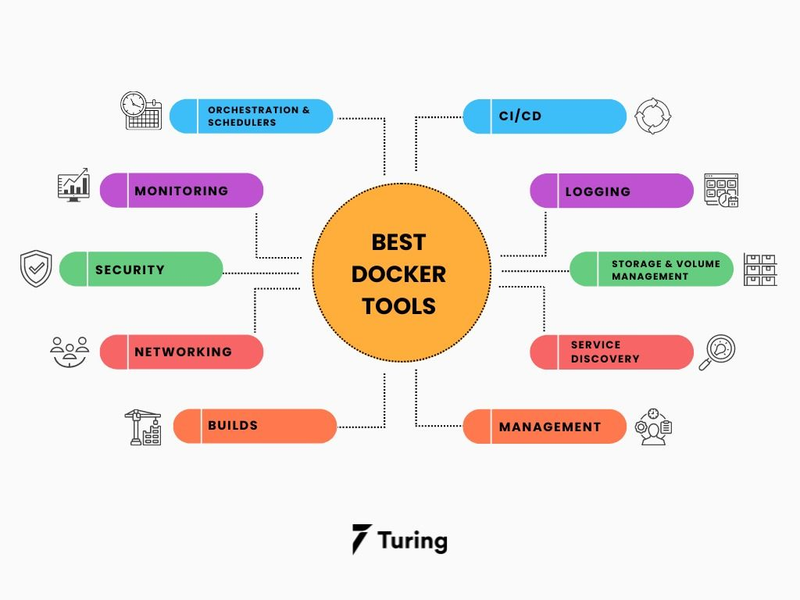
Automation, Orchestration, and Management
Configuration Management:
Puppet
Ansible
Chef
Orchestration
Kubernetes
Docker Swarm
Amazon ECS (Elastic Container Service)
Infrastructure as Code (IaC):
Terraform
Container Registry:
Docker Hub
AWS ECR (Elastic Container Registry)
Google Container Registry
Docker Security
:
Container Security Scanning:
Clair
Aqua Security
Twistlock
Container Runtime Security:
SELinux (Security-Enhanced Linux)
AppArmor
gVisor
Secrets Management:
HashiCorp Vault
Docker Secrets
Network Security:
Calico
Cilium
Docker Monitoring
:
Container Monitoring:
Prometheus
cAdvisor
Datadog
New Relic
Infrastructure Monitoring:
Grafana
Zabbix
Nagios
Docker Logging
:
Log Management:
ELK Stack (Elasticsearch, Logstash, Kibana)
Fluentd
Splunk
Networking
:
Container Networking:
Calico
Weave
Flannel
Service Mesh:
Istio
Linkerd
Service Discovery
Service Discovery:
Consul
etcd
Zookeeper
CI/CD
Continuous Integration:
Jenkins
GitLab CI
Travis CI
CircleCI
Continuous Deployment:
Spinnaker
ArgoCD
Flux
Artifact Repository:
JFrog Artifactory
Nexus Repository
Version Control Systems:
Git
GitHub
GitLab
Bitbucket
How Jenkins helps automate the building, testing, and deployment of applications
Jenkins and Docker:
Continuous Integration/Continuous Deployment (CI/CD): Jenkins is a popular CI/CD tool that helps automate the building, testing, and deployment of applications. Docker is often used in Jenkins pipelines to package applications into containers for consistent and reproducible deployments.
Docker Plugin: Jenkins has a Docker plugin that allows you to integrate Docker into your CI/CD workflows. This plugin enables Jenkins to build, publish, and run Docker containers as part of the build process.
Scalability and Isolation: Docker provides a lightweight and isolated environment for running builds and tests. Jenkins can utilize Docker to spin up disposable build environments, improving scalability and ensuring that builds are performed in a clean and consistent environment
Creating a complete Jenkins pipeline involves several steps, including setting up Jenkins, configuring a job, and creating a simple CI/CD pipeline for a sample application. Below is a basic example using Jenkins with a simple Python application.
Step 1: Install Jenkins
Follow the instructions on the official Jenkins website to install Jenkins on your preferred platform: Jenkins Installation.
Once installed, open Jenkins in your web browser (typically at http://localhost:8080).
Step 2: Install Required Plugins
Go to "Manage Jenkins" > "Manage Plugins."

Install the following plugins:

Docker plugin
Pipeline plugin
Step 3: Set Up Docker on Jenkins
Ensure that Docker is installed on the machine where Jenkins is running.


Add the Jenkins user to the Docker group to grant permissions:


sudo usermod -aG docker jenkins
Restart Jenkins to apply the changes:


sudo systemctl restart jenkins
Step 4: Create a Jenkins Pipeline Job
1.Click on "New Item" on the Jenkins dashboard.
2.Enter a name for your pipeline job (e.g., "DockerPipeline") and select "Pipeline" as the job type.
3.Click "OK" to create the job.
Step 5: Configure Jenkins Pipeline Script
1.In the pipeline job configuration, scroll down to the "Pipeline" section.
2.In the "Definition" dropdown, select "Pipeline script from SCM."
3.Choose your version control system (e.g., Git) and provide the repository URL.
4.Specify the script path if your Jenkinsfile is in a subdirectory (e.g., "Jenkinsfile").
Step 6: Create a Jenkinsfile in Your Repository
Create a file named Jenkinsfile in the root of your project with the following content:
pipeline {
    agent any

    stages {
        stage('Build') {
            steps {
                echo 'Building the Docker image...'
                script {
                    docker.build('my-python-app')
                }
            }
        }
        stage('Test') {
            steps {
                echo 'Running tests...'
                script {
                    docker.image('my-python-app').inside {
                        sh 'python -m unittest discover'
                    }
                }
            }
        }
        stage('Deploy') {
            steps {
                echo 'Deploying the Docker image...'
                // Add deployment steps here
            }
        }
    }

    post {
        success {
            echo 'Pipeline succeeded! Triggering deployment...'
            // Add additional deployment steps or triggers here
        }
    }
}
This pipeline script defines three stages: Build, Test, and Deploy. Adjust the steps inside each stage according to your application's requirements.
Step 7: Run the Jenkins Pipeline
1.Click on "Build Now" in the Jenkins job dashboard.
2.View the progress and console output by clicking on the build number.
3.If the build and tests are successful, the deployment stage is triggered.
Step 8: View Results
Check the Jenkins job dashboard and build logs to see the progress of each stage. If the build and tests are successful, the deployment stage is triggered.
Remember to customize the example according to your specific application, including adjusting build commands, testing frameworks, and deployment steps. Additionally, ensure that Docker is correctly installed and configured on your Jenkins server.
How Ansible simplifies the management and configuration of infrastructure Using Docker
Ansible and Docker:
Infrastructure Automation: Ansible is an automation tool that simplifies the management and configuration of infrastructure. It is agentless and uses SSH to communicate with servers.
Docker Module: Ansible provides a Docker module that allows you to manage Docker containers and images. You can use Ansible playbooks to define the desired state of Dockerized applications and orchestrate container deployment.
Integration with Docker Swarm and Kubernetes: Ansible can be used to deploy and manage Docker Swarm clusters or Kubernetes clusters. It provides modules to interact with these orchestrators, facilitating the deployment and scaling of Dockerized applications.
Step 1: Install Ansible
Ensure that Ansible is installed on the machine where you plan to run your automation. You can follow the installation instructions for your specific operating system from the Ansible Installation Guide.
Step 2: Create an Ansible Playbook
Create an Ansible playbook, which is a YAML file that defines a set of tasks to be executed. For example, let's create a playbook named docker_setup.yml:
---
- name: Configure Docker
  hosts: your_target_servers
  become: yes

  tasks:
    - name: Install Docker
      apt:
        name: docker.io
        state: present
      become: yes

    - name: Install Docker Compose
      apt:
        name: docker-compose
        state: present
      become: yes
In this example, the playbook has two tasks: one for installing Docker and another for installing Docker Compose on the target servers.
Step 3: Create an Ansible Inventory
Create an Ansible inventory file to define the target servers that Ansible will manage. For example, create a file named inventory.ini:
[your_target_servers]
server1 ansible_ssh_user=your_ssh_user
server2 ansible_ssh_user=your_ssh_user
Replace your_target_servers, your_ssh_user, server1, and server2 with your actual server information.
Step 4: Run the Ansible Playbook
Execute the Ansible playbook using the following command:
ansible-playbook -i inventory.ini docker_setup.yml
This command will run the tasks defined in the docker_setup.yml playbook on the servers specified in the inventory.ini file.
Step 5: Verify Docker Installation
SSH into one of your target servers and verify that Docker and Docker Compose are installed:
docker --version
docker-compose --version
Step 6: Use Ansible to Manage Docker Containers
Now that Docker is installed, you can create another Ansible playbook to manage Docker containers. For example, let's create a playbook named docker_containers.yml:
---
- name: Manage Docker Containers
  hosts: your_target_servers
  become: yes

  tasks:
    - name: Pull Docker Image
      docker_image:
        name: your_docker_image
        source: pull

    - name: Run Docker Container
      docker_container:
        name: your_container_name
        image: your_docker_image
        state: started
        ports:
          - "80:80"
Replace your_docker_image and your_container_name with your actual Docker image and container information.
Step 7: Run the Ansible Playbook for Docker Containers
Execute the Ansible playbook for managing Docker containers:
ansible-playbook -i inventory.ini docker_containers.yml
This command will run the tasks defined in the docker_containers.yml playbook on the servers specified in the inventory.ini file.
How Puppet manage configuration of infrastructure
Puppet is a configuration management tool that automates the provisioning and configuration of infrastructure. In the context of Docker, Puppet can be used to manage the configuration of both the host system and Docker containers. Below is a step-by-step example of how Puppet can manage the configuration of a Dockerized environment.
Step 1: Install Puppet
Ensure that Puppet is installed on the machine where you plan to run your configuration management. You can follow the installation instructions for your specific operating system from the Puppet Installation Guide.
Step 2: Create a Puppet Manifest
Create a Puppet manifest, which is a set of instructions that defines the desired state of the system. For example, create a file named docker_setup.pp:
# docker_setup.pp

# Install Docker
class { 'docker':
  version => 'latest',
}

# Install Docker Compose
exec { 'install_docker_compose':
  command => 'curl -L "https://github.com/docker/compose/releases/latest/download/docker-compose-$(uname -s)-$(uname -m)" -o /usr/local/bin/docker-compose && chmod +x /usr/local/bin/docker-compose',
  creates => '/usr/local/bin/docker-compose',
}

# Ensure Docker service is running
service { 'docker':
  ensure => running,
}
In this example, the manifest includes instructions to install Docker and Docker Compose.
Step 3: Apply the Puppet Manifest
Execute the Puppet manifest using the following command:
sudo puppet apply docker_setup.pp
This command will apply the configurations defined in the docker_setup.pp manifest and install Docker and Docker Compose on the host system.
Step 4: Verify Docker Installation
Verify that Docker and Docker Compose are installed on the host system:
Step 5: Use Puppet to Manage Docker Containers
Now that Docker is installed, you can extend your Puppet manifest to manage Docker containers. For example, create a file named docker_containers.pp:
# docker_containers.pp

# Define Docker container
docker::run { 'nginx_container':
  image   => 'nginx',
  ports   => ['80:80'],
  require => Class['docker'],
}
In this example, a Docker container running the Nginx image is defined.
Step 6: Apply the Extended Puppet Manifest
Apply the extended manifest to manage Docker containers:
sudo puppet apply docker_containers.pp
This command will apply the configurations defined in the docker_containers.pp manifest and start the specified Docker container.
Step 7: Verify Docker Container
Verify that the Docker container is running:
docker ps
Summary:
This step-by-step example demonstrates how Puppet can be used to manage the configuration of a Dockerized environment. Puppet allows you to define the desired state of both the host system and Docker containers, ensuring consistency and reproducibility in your infrastructure.

Top comments (0)