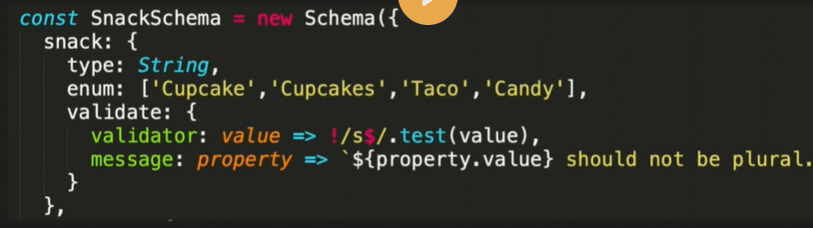
How to use custom validator
In the context of Node.js and MongoDB, validators in the schema configuration are used to define and enforce certain rules or constraints on the data that is being stored in a MongoDB collection. These validators allow you to specify conditions that the data must meet in order to be considered valid and inserted or updated in the collection.
To use validators in the schema configuration, you need to define your schema using a library such as Mongoose, which provides an elegant and flexible way to work with MongoDB in Node.js. Here's an example of how you can define validators in a Mongoose schema:
const mongoose = require('mongoose');

const userSchema = new mongoose.Schema({
  name: {
    type: String,
    required: true
  },
  age: {
    type: Number,
    min: 18,
    max: 100
  },
  email: {
    type: String,
    required: true,
    unique: true,
    match: /^[\w-]+(\.[\w-]+)*@([\w-]+\.)+[a-zA-Z]{2,7}$/
  }
});

const User = mongoose.model('User', userSchema);
In the above example, we define a schema for a user collection. The schema specifies three fields: name, age, and email. Let's break down the validators used in this schema:
The name field is required, which means it must be present when inserting or updating a document. If a document doesn't have a name field or the value is empty, Mongoose will throw a validation error.
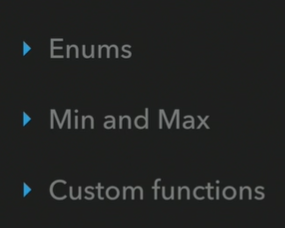
The age field is of type Number, and we've added additional validators to define constraints. The min and max properties specify the minimum and maximum values allowed for the age field. In this case, a user's age must be between 18 and 100.
The email field is also required and has the unique property set to true. This ensures that each user document has a unique email address. Additionally, the match property defines a regular expression pattern that the email field must match. In the example, we've used a simple pattern to check if the email is in a valid format.
By using validators in the schema configuration, you can ensure that the data being stored in your MongoDB collection adheres to certain rules and constraints, making it easier to maintain data integrity and prevent invalid data from being inserted.

==============================================================


How to use custom validator
In Node.js and MongoDB, you can implement custom validators using a combination of model, controller, and route components. Custom validators allow you to define and enforce specific validation rules beyond the built-in validators provided by libraries like Mongoose. Let's walk through an example to illustrate the process:
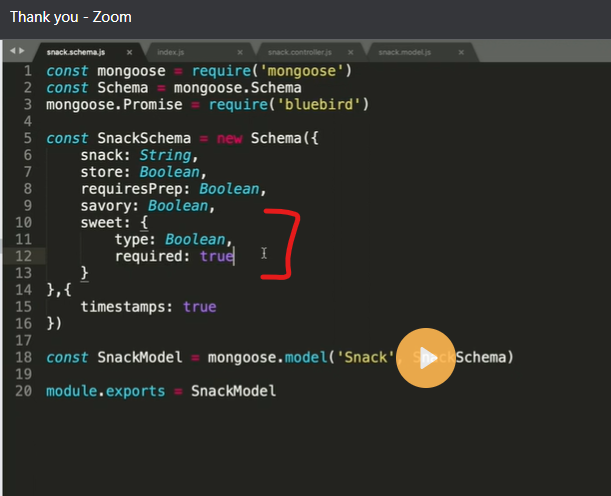
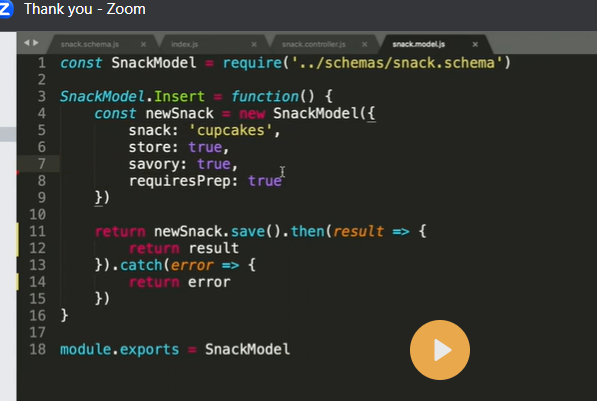
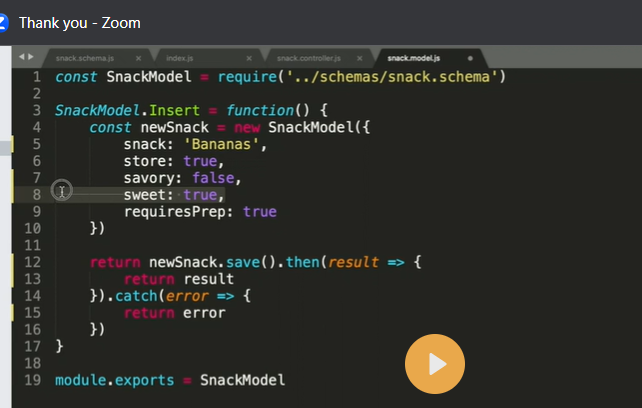
Model:
Assuming we have a "User" model, we can define a custom validator for a specific field, such as the "email" field. Open the file where the model is defined, and add the custom validator using the validate property in the field definition. Here's an example:
const mongoose = require('mongoose');
const userSchema = new mongoose.Schema({
email: {
type: String,
required: true,
unique: true,
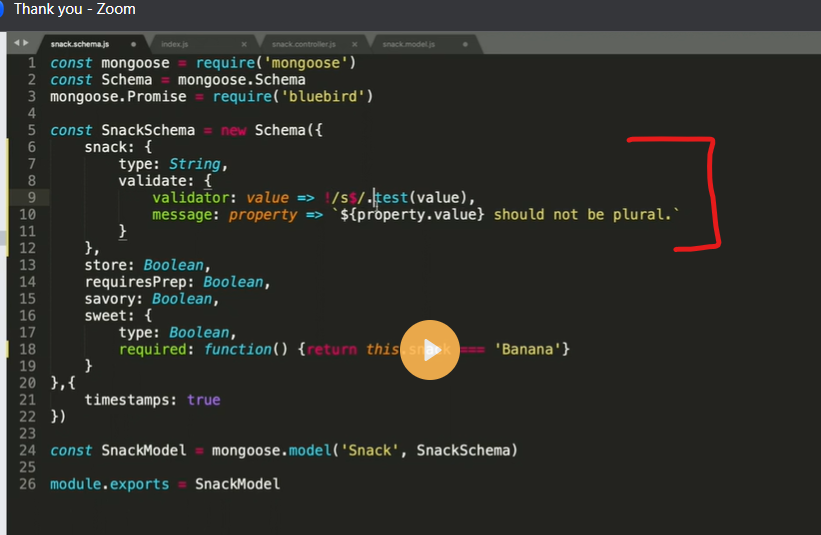
validate: {
validator: function (value) {
// Implement custom validation logic here
return /^[\w-]+(\.[\w-]+)*@([\w-]+\.)+[a-zA-Z]{2,7}$/.test(value);
},
message: 'Invalid email format'
}
},
// Other fields in the schema
});
const User = mongoose.model('User', userSchema);
module.exports = User;
In the example above, we've added a custom validator to the "email" field. The validator property takes a function that implements the custom validation logic. In this case, we're using a regular expression to check if the email is in a valid format. If the validation fails, the message property defines the error message to be displayed.
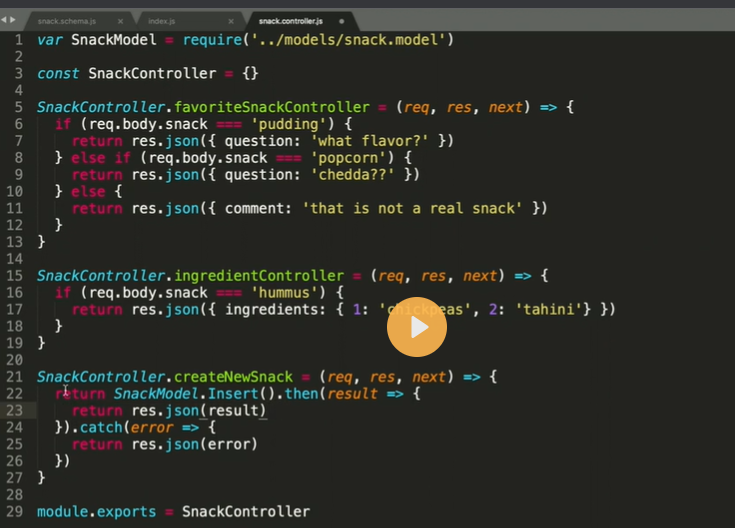
Controller:
Next, in the controller file, which handles the logic for creating or updating users, you can handle the validation errors thrown by Mongoose. Here's an example:
const User = require('../models/user');

// Create a new user
const createUser = async (req, res) => {
  try {
    const newUser = new User(req.body);
    await newUser.save();
    res.status(201).json(newUser);
  } catch (error) {
    if (error.name === 'ValidationError') {
      // Handle validation errors
      res.status(400).json({ error: error.message });
    } else {
      // Handle other types of errors
      res.status(500).json({ error: 'Internal server error' });
    }
  }
};

module.exports = {
  createUser,
  // Other controller functions
};
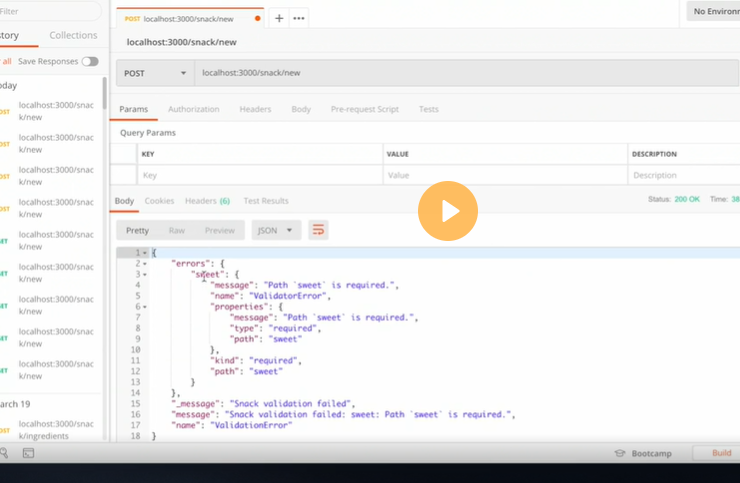
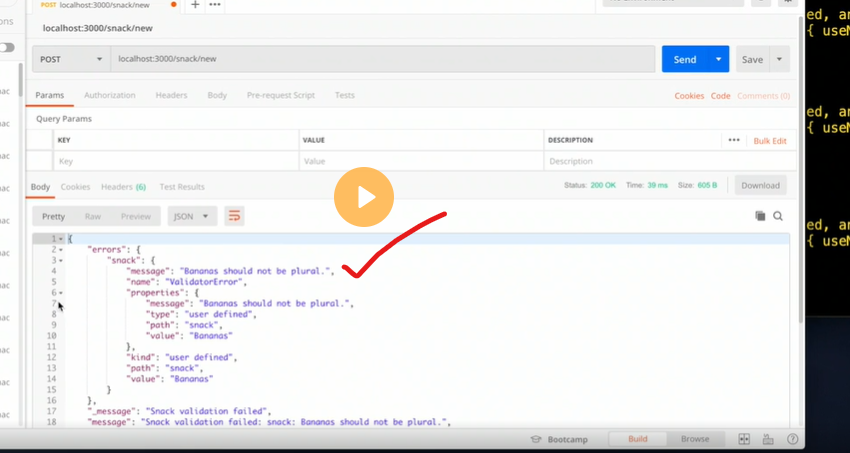
In the example, we're using the try-catch block to handle potential errors thrown by Mongoose. If a validation error occurs, the ValidationError name property can be used to identify it. In this case, we respond with a 400 status code and send the error message as a response.
Route:
Lastly, in the route file, you define the endpoint for creating a user and connect it to the corresponding controller function. Here's an example:
const express = require('express');
const router = express.Router();
const userController = require('../controllers/user');

// Create a new user
router.post('/users', userController.createUser);

module.exports = router;
In the example, we define a POST route /users that maps to the createUser function in the user controller.
With this setup, when a request is made to create a new user, the custom validator defined in the model will be triggered. If the validation fails, the error will be caught in the controller, and an appropriate response will be sent to the client.

Top comments (0)