Modularization using livewire
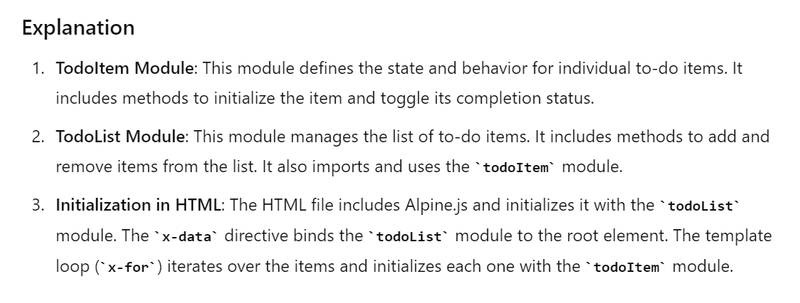
Modularization using Alpine js
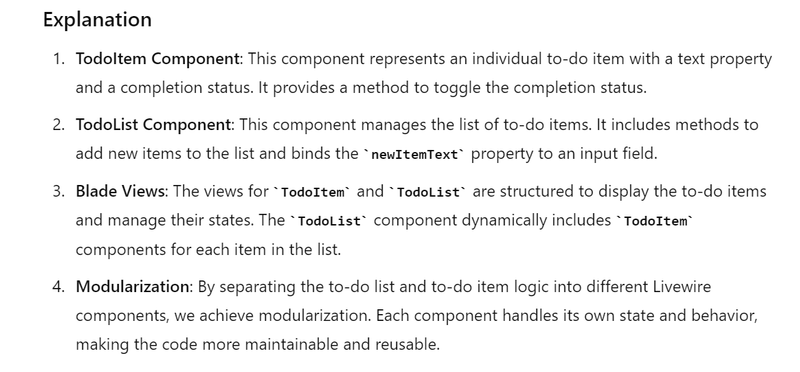
Modularization using livewire
To-do list
Step-by-Step Guide
Create the Livewire Components:
We'll create two Livewire components:
TodoList for managing the list of to-do items.
TodoItem for individual to-do items.
php artisan make:livewire TodoList
php artisan make:livewire TodoItem
Define the TodoItem Component:
The TodoItem component will handle individual to-do items. It will include properties for the item text and completion status.
// app/Http/Livewire/TodoItem.php
namespace App\Http\Livewire;

use Livewire\Component;

class TodoItem extends Component
{
    public $text;
    public $isCompleted = false;

    public function mount($text)
    {
        $this->text = $text;
    }

    public function toggleCompletion()
    {
        $this->isCompleted = !$this->isCompleted;
    }

    public function render()
    {
        return view('livewire.todo-item');
    }
}
Blade View for TodoItem:
<!-- resources/views/livewire/todo-item.blade.php -->
<div>
    <input type="checkbox" wire:click="toggleCompletion" @if($isCompleted) checked @endif>
    <span @if($isCompleted) style="text-decoration: line-through;" @endif>{{ $text }}</span>
</div>
Define the TodoList Component:
The TodoList component will manage the list of to-do items, including adding new items.
// app/Http/Livewire/TodoList.php
namespace App\Http\Livewire;

use Livewire\Component;

class TodoList extends Component
{
    public $items = [];
    public $newItemText = '';

    public function addItem()
    {
        if ($this->newItemText) {
            $this->items[] = $this->newItemText;
            $this->newItemText = '';
        }
    }

    public function render()
    {
        return view('livewire.todo-list');
    }
}
Blade View for TodoList:
<!-- resources/views/livewire/todo-list.blade.php -->
<div>
    <h1>To-Do List</h1>
    <input type="text" wire:model="newItemText">
    <button wire:click="addItem">Add Item</button>

    <ul>
        @foreach($items as $item)
            <li>
                @livewire('todo-item', ['text' => $item], key($item))
            </li>
        @endforeach
    </ul>
</div>
Use the TodoList Component in a View:
Include the TodoList component in any view you like, such as the welcome.blade.php.
<!-- resources/views/welcome.blade.php -->
@extends('layouts.app')

@section('content')
    @livewire('todo-list')
@endsection
User Profile and Edit Profile Components
n this example, we'll create a modularized system for displaying and editing a user's profile.
Create Livewire Components:
php artisan make:livewire UserProfile
php artisan make:livewire EditProfile
Define the UserProfile Component:
This component will display the user's profile information.
// app/Http/Livewire/UserProfile.php
namespace App\Http\Livewire;

use Livewire\Component;

class UserProfile extends Component
{
    public $user;

    public function mount($user)
    {
        $this->user = $user;
    }

    public function render()
    {
        return view('livewire.user-profile');
    }
}
Blade View for UserProfile:
<!-- resources/views/livewire/user-profile.blade.php -->
<div>
    <h1>{{ $user->name }}'s Profile</h1>
    <p>Email: {{ $user->email }}</p>
    <p>Bio: {{ $user->bio }}</p>

    <button wire:click="$emit('editProfile')">Edit Profile</button>
</div>
Define the EditProfile Component:
This component will handle editing the user's profile information.
// app/Http/Livewire/EditProfile.php
namespace App\Http\Livewire;

use Livewire\Component;

class EditProfile extends Component
{
    public $user;
    public $name;
    public $email;
    public $bio;

    protected $listeners = ['editProfile' => 'loadUser'];

    public function loadUser()
    {
        $this->name = $this->user->name;
        $this->email = $this->user->email;
        $this->bio = $this->user->bio;
    }

    public function save()
    {
        $this->user->update([
            'name' => $this->name,
            'email' => $this->email,
            'bio' => $this->bio,
        ]);

        $this->emit('profileUpdated');
    }

    public function render()
    {
        return view('livewire.edit-profile');
    }
}
Blade View for EditProfile:
<div>
    <h1>Edit Profile</h1>
    <form wire:submit.prevent="save">
        <div>
            <label>Name</label>
            <input type="text" wire:model="name">
        </div>
        <div>
            <label>Email</label>
            <input type="email" wire:model="email">
        </div>
        <div>
            <label>Bio</label>
            <textarea wire:model="bio"></textarea>
        </div>
        <button type="submit">Save</button>
    </form>
</div>
Use the Components in a View:
Include the components in a parent view, such as profile.blade.php.
<!-- resources/views/profile.blade.php -->
@extends('layouts.app')

@section('content')
    @livewire('user-profile', ['user' => $user])

    <div x-data="{ isEditing: false }" x-init="@this.on('editProfile', () => isEditing = true)">
        <div x-show="isEditing" style="display: none;">
            @livewire('edit-profile', ['user' => $user])
        </div>
    </div>
@endsection
Shopping Cart and Cart Item Components
In this example, we'll create a modularized system for a shopping cart where each cart item is managed by a separate component.
Create Livewire Components:
php artisan make:livewire ShoppingCart
php artisan make:livewire CartItem
Define the CartItem Component:
This component will handle individual cart items.
// app/Http/Livewire/CartItem.php
namespace App\Http\Livewire;

use Livewire\Component;

class CartItem extends Component
{
    public $item;

    public function mount($item)
    {
        $this->item = $item;
    }

    public function remove()
    {
        $this->emit('removeItem', $this->item['id']);
    }

    public function render()
    {
        return view('livewire.cart-item');
    }
}
Blade View for CartItem:
<!-- resources/views/livewire/cart-item.blade.php -->
<div>
    <p>{{ $item['name'] }} - ${{ $item['price'] }}</p>
    <button wire:click="remove">Remove</button>
</div>
Define the ShoppingCart Component:
This component will manage the list of cart items.
// app/Http/Livewire/ShoppingCart.php
namespace App\Http\Livewire;

use Livewire\Component;

class ShoppingCart extends Component
{
    public $items = [];

    protected $listeners = ['removeItem' => 'removeItem'];

    public function mount()
    {
        // Example items
        $this->items = [
            ['id' => 1, 'name' => 'Item 1', 'price' => 10],
            ['id' => 2, 'name' => 'Item 2', 'price' => 20],
        ];
    }

    public function removeItem($itemId)
    {
        $this->items = array_filter($this->items, function ($item) use ($itemId) {
            return $item['id'] !== $itemId;
        });
    }

    public function render()
    {
        return view('livewire.shopping-cart');
    }
}
Blade View for ShoppingCart:
<!-- resources/views/livewire/shopping-cart.blade.php -->
<div>
    <h1>Shopping Cart</h1>
    <ul>
        @foreach($items as $item)
            <li>
                @livewire('cart-item', ['item' => $item], key($item['id']))
            </li>
        @endforeach
    </ul>
</div>
Use the Components in a View:
Include the components in a view, such as cart.blade.php.
<!-- resources/views/cart.blade.php -->
@extends('layouts.app')

@section('content')
    @livewire('shopping-cart')
@endsection
Modularization using Alpine js
To-Do Item:
Create a JavaScript file that defines the logic for a to-do item. This module will handle the state and behavior of individual items.
// modules/todoItem.js
export function todoItem() {
    return {
        text: '',
        isCompleted: false,

        init(text) {
            this.text = text;
        },

        toggleCompletion() {
            this.isCompleted = !this.isCompleted;
        }
    };
}
Create a Module for the To-Do List:
Create another JavaScript file that defines the logic for the to-do list. This module will manage the list of items.
// modules/todoList.js
import { todoItem } from './todoItem.js';

export function todoList() {
    return {
        newItemText: '',
        items: [],

        addItem() {
            if (this.newItemText.trim() === '') return;
            this.items.push(todoItem().init(this.newItemText));
            this.newItemText = '';
        },

        removeItem(index) {
            this.items.splice(index, 1);
        }
    };
}
Initialize Alpine.js with the Modules:
Ensure Alpine.js is included in your project and initialize it with the defined modules. You can include this in your main HTML file.
<html lang="en">
<head>
    <meta charset="UTF-8">
    <meta name="viewport" content="width=device-width, initial-scale=1.0">
    <title>Alpine.js Modular Example</title>
    <script src="https://cdn.jsdelivr.net/gh/alpinejs/alpine@v3.x.x/dist/cdn.min.js" defer></script>
    <script type="module">
        import Alpine from 'alpinejs';
        import { todoList } from './modules/todoList.js';
        window.todoList = todoList;
        Alpine.start();
    </script>
</head>
<body>
    <div x-data="todoList()">
        <h1>To-Do List</h1>
        <input type="text" x-model="newItemText">
        <button @click="addItem">Add Item</button>

        <ul>
            <template x-for="(item, index) in items" :key="index">
                <li>
                    <div x-data="item">
                        <input type="checkbox" x-model="isCompleted">
                        <span x-text="text" :style="isCompleted ? 'text-decoration: line-through;' : ''"></span>
                        <button @click="$parent.removeItem(index)">Remove</button>
                    </div>
                </li>
            </template>
        </ul>
    </div>
</body>
</html>


Top comments (0)