The architecture diagram provided for integrating Paytm into a Flutter application outlines the process of handling a payment transaction. Below, I'll break down each step shown in the diagram to give a clearer understanding of how the components interact:
Step-by-Step Explanation of the Architecture
User Initiates Payment:
The process begins in the Flutter mobile app when a user decides to make a payment. This could be triggered by pressing a "Pay with Paytm" button or similar action within the app.
Flutter App Sends Payment Details to Server:
The app collects the necessary payment details such as the order ID, customer ID, and transaction amount. These details are then sent to the backend server. This communication is typically done over HTTPS to ensure security.
Server Generates Checksum:
The backend server receives the payment details from the Flutter app. Using these details, it generates a checksum. The checksum is a cryptographic hash that ensures the integrity and authenticity of the transaction data. It is generated using the merchant key provided by Paytm and the payment details.
Server Sends Payment Request to Paytm:
Along with the checksum, the backend server packages the other transaction details into a payment request and sends this to the Paytm payment gateway. This step is crucial as it involves the secure transmission of payment details to Paytm for processing.
Paytm Processes Payment:
Paytm receives the payment request and first validates the checksum to ensure that the transaction data has not been tampered with during transmission. If the checksum is valid, Paytm proceeds to process the payment. This involves various operations such as debiting the customer's Paytm wallet or linked bank account, and verifying transaction limits and account status.
Payment Status Returned to Server:
After processing the payment, Paytm sends back the transaction status to the backend server. This status includes whether the payment was successful, failed, or if further action is needed (like additional authentication).
Server Notifies Flutter App:
Once the backend server receives the payment status from Paytm, it sends this information back to the Flutter mobile app. This step is crucial for informing the user of the outcome of their payment request.
Flutter App Updates UI Based on Payment Status:
The final step in the flow occurs within the Flutter app, which updates the UI to reflect the payment status. If the payment was successful, the app might display a confirmation message and proceed with order completion. If the payment failed, the app could prompt the user to try again or choose another payment method.
Additional Considerations
Security: At each step where data is transmitted over the network (especially payment details and checksums), HTTPS should be used to ensure the data is encrypted.
Error Handling: Proper error handling should be implemented at the server and app level to manage cases like network failures, payment declines, or API errors.
Data Privacy: Ensure that sensitive user information is handled according to the legal requirements like GDPR or PCI-DSS, where applicable.
This architecture provides a robust framework for integrating Paytm payment functionality into a Flutter app, ensuring a secure, reliable, and user-friendly payment experience.
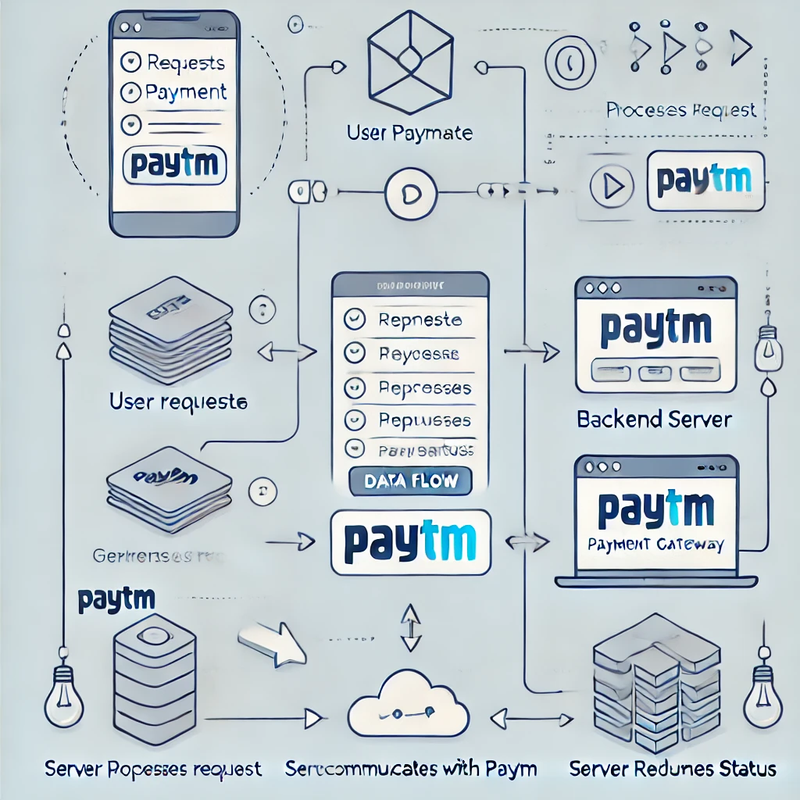
This architecture diagram provides a clear view of the interaction between a Flutter mobile app, a backend server, and the Paytm payment gateway during a payment transaction. Let's go through each step depicted in the diagram:
Step-by-Step Explanation
User Requests Payment:
Initiation: The process starts when a user initiates a payment request in the Flutter mobile app. This typically involves the user entering payment details and confirming the intent to pay.
Flutter App Sends Request to Backend Server:
Data Transmission: The Flutter app sends the user's payment details (e.g., amount, order ID) to the backend server. This is often done securely using HTTPS to ensure the data is encrypted during transit.
Backend Server Processes Request:
Checksum Generation: The server receives the payment details and first validates them. It then generates a checksum using these details. The checksum is crucial for verifying the integrity and authenticity of the request in later stages with Paytm.
Prepare Paytm Payment Request: After generating the checksum, the server packages the payment details along with the checksum into a format required by the Paytm API.
Server Sends Payment Request to Paytm:
Payment Processing: The server sends the prepared payment request to the Paytm payment gateway. This request includes the transaction details and the checksum.
Paytm Processes Payment Request:
Validation and Transaction Processing: Paytm validates the checksum to ensure the request has not been tampered with. Upon successful validation, Paytm processes the transaction, which includes debiting the user’s account, performing fraud checks, etc.
Paytm Sends Payment Status Back to Server:
Receive Confirmation: Once the transaction is processed, Paytm sends the result back to the server. This result includes whether the payment was successful, failed, or requires further action (like additional authentication).
Server Receives Payment Status:
Post-Processing: The backend server receives the transaction status from Paytm. Depending on the result, the server may update the order status in its database and perform any necessary post-payment processing.
Server Updates Flutter App:
Notify User: The server sends the transaction status back to the Flutter app. The app then updates the user interface to reflect the payment status, such as displaying a success message or an error alert.
Coding explanation with step by step
User Initiates Payment in Flutter App
Flutter Code:
import 'package:flutter/material.dart';
import 'package:http/http.dart' as http;

class PaymentScreen extends StatefulWidget {
  @override
  _PaymentScreenState createState() => _PaymentScreenState();
}

class _PaymentScreenState extends State<PaymentScreen> {
  final String orderId = "Order123";
  final String amount = "100.00";
  final String customerId = "Cust123";

  void initiatePayment() async {
    try {
      var response = await http.post(
        Uri.parse('https://your-backend.com/api/paytm/generateChecksum'),
        headers: {'Content-Type': 'application/json'},
        body: {
          'orderId': orderId,
          'amount': amount,
          'customerId': customerId
        }
      );
      if (response.statusCode == 200) {
        startTransaction(response.body); // Function to handle Paytm SDK or Webview
      } else {
        throw Exception('Failed to generate checksum');
      }
    } catch (e) {
      print(e.toString());
    }
  }

  @override
  Widget build(BuildContext context) {
    return Scaffold(
      appBar: AppBar(
        title: Text('Pay with Paytm'),
      ),
      body: Center(
        child: ElevatedButton(
          onPressed: initiatePayment,
          child: Text('Pay Now'),
        ),
      ),
    );
  }
}
- Backend Server Generates Checksum (PHP Code) PHP Code:
<?php
require_once("PaytmChecksum.php");

$paytmParams = array();
$paytmParams["body"] = array(
    "requestType"   => "Payment",
    "mid"           => "YOUR_MERCHANT_ID",
    "websiteName"   => "YOUR_WEBSITE",
    "orderId"       => $_POST['orderId'],
    "txnAmount"     => array(
        "value"     => $_POST['amount'],
        "currency"  => "INR",
    ),
    "userInfo"      => array(
        "custId"    => $_POST['customerId'],
    ),
);

$checksum = PaytmChecksum::generateSignature(json_encode($paytmParams["body"], JSON_UNESCAPED_SLASHES), "YOUR_MERCHANT_KEY");

$paytmParams["head"] = array(
    "signature"    => $checksum
);

$post_data = json_encode($paytmParams, JSON_UNESCAPED_SLASHES);

echo $post_data;
?>
Backend Server Sends Payment Request to Paytm
This step and the checksum generation might typically be combined in a single server-side operation, as shown above. The server sends this data directly to Paytm when the transaction initiates.& 5. Paytm Processes Payment and Returns Status
This happens on Paytm's servers, and you will receive a callback as per the setup in your Paytm dashboard settings.Server Notifies Flutter App
Handling the Callback in PHP:
// Example callback endpoint
// This will process the Paytm's response.
$app->post('/api/paytm/paymentCallback', function (Request $request, Response $response) {
    $data = $request->getParsedBody();
    $isValidChecksum = PaytmChecksum::verifySignature($data, "YOUR_MERCHANT_KEY", $data['CHECKSUMHASH']);
    if ($isValidChecksum) {
        // Process according to the payment response
        // Typically you might update your database here
        return $response->withJson(['status' => 'success', 'data' => $data]);
    } else {
        return $response->withJson(['status' => 'error', 'message' => 'Invalid Checksum']);
    }
});
Flutter App Updates UI Based on Payment Status
Flutter Code:
void startTransaction(String paytmResponse) {
  var transactionResponse = jsonDecode(paytmResponse);
  if (transactionResponse['body']['resultInfo']['resultStatus'] == 'TXN_SUCCESS') {
    // Update UI to show payment successful
  } else {
    // Handle payment failure
    print(transactionResponse['body']['resultInfo']['resultMsg']);
  }
}
This implementation illustrates how to orchestrate a Paytm payment integration using Flutter for the frontend and PHP for the backend. It manages the user's payment request, the server's checksum generation, and the handling of Paytm's response. Always ensure that your merchant key and other sensitive credentials are securely handled and not exposed.

Top comments (0)